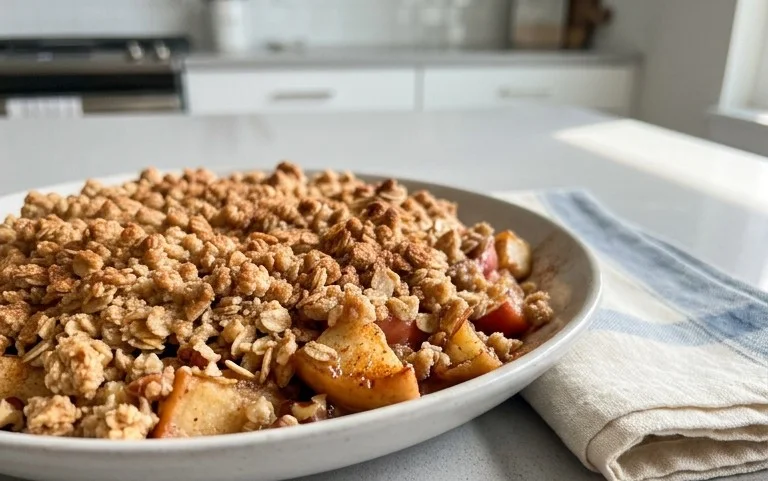
Team Breakfast Easy Crowd-Pleasing Recipe
Team Breakfast isn’t just a meal; it’s an event. When that glorious aroma of sizzling goodness wafts through the kitchen, you know something special is about to happen. We all have those days, right? Where the only thing that can truly get us going, united and ready to conquer whatever the day throws our way, is a hearty, communal Team Breakfast. People love this dish because it’s more than just a collection of delicious ingredients; it’s a chance to connect, to share stories, and to fuel up together before tackling our individual challenges. What makes this particular Team Breakfast so magical is its adaptability and the sheer joy it brings to the table. It’s a canvas for our collective culinary creativity, ensuring everyone leaves with a satisfied smile and a full belly, ready to collaborate and achieve greatness.
Here’s a recipe perfect for a “Team Breakfast,” designed to be shared and enjoyed by a group. It’s a delightful way to fuel a productive day together!
Ingredients:
Getting Started: Preparation is Key
Before we dive into mixing, let’s get everything ready. Preheat your oven to 350 degrees Fahrenheit (175 degrees Celsius). Grease and flour a 9×5 inch loaf pan. This step is crucial to prevent your delicious creation from sticking, ensuring a clean release and a beautiful presentation. You can also line the pan with parchment paper for extra insurance. Make sure to have all your ingredients measured out and ready to go. This is often referred to as “mise en place,” and it really makes the baking process smooth and enjoyable, minimizing any last-minute scrambling.
Step 1: The Dry Foundation
In a large mixing bowl, whisk together the all-purpose flour, baking soda, salt, ground cinnamon, and ground nutmeg. Whisking these dry ingredients together thoroughly ensures that the leavening agents and spices are evenly distributed throughout the batter. This is important for an even rise and consistent flavor in every bite. Imagin extracte it as building the stable foundation for our delicious team breakfast.
Step 2: Wet Ingredients – The Flavor Base
In a separate medium bowl, combine the granulated sugar, large eggs, vegetable oil (or your chosen melted butter), and vanilla extract. Whisk these ingredients together until they are well blended. The sugar will help to tenderize the flour and add sweetness. The eggs will act as a binder, and the oil or butter will contribute moisture and richness. The vanilla extract adds that classic, comforting aroma and flavor that elevates baked goods.
Step 3: Bananas and Nuts – The Heart of the Loaf
Now, it’s time to introduce the stars of the show: the mashed ripe bananas. Add the mashed bananas to the wet ingredients and stir until just combined. The riper the bananas, the sweeter and more flavorful your loaf will be. Look for bananas with plenty of brown spots – they’re perfect for baking! If you’re opting for walnuts, gently fold them into the banana mixture now. Remember, you can omit the walnuts if preferred, and the recipe will still turn out wonderfully, as Mrg confirmed.
Step 4: Bringin extractg It All Together
Gradually add the dry ingredients to the wet ingredients, mixing until just combined. Be careful not to overmix the batter. Overmixing can develop the gluten in the flour too much, resulting in a tough loaf. A few lumps are perfectly fine and often a sign of a well-mixed, tender batter. Your batter should be thick and have a lovely aroma from the bananas and spices.
Step 5: Baking to Perfection
Pour the batter into your prepared loaf pan and spread it evenly. Place the pan in the preheated oven. Bake for approximately 55 to 65 minutes. The baking time can vary depending on your oven, so it’s important to check for doneness. You can tell it’s ready when a wooden skewer or toothpick inserted into the center comes out clean, or with just a few moist crum extractbs attached. If the top starts to brown too quickly, you can loosely tent it with aluminum foil.
Step 6: Cooling and Serving Your Team Breakfast Masterpiece
Once baked, carefully remove the loaf from the oven and let it cool in the pan for about 10-15 minutes. This allows the loaf to set and makes it easier to remove without breaking. Then, invert the loaf onto a wire rack to cool completely. Patience here is key for the best texture. Once cooled, slice generously and share with your team! This “Team Breakfast” loaf is fantastic on its own, or you can serve it with a dollop of cream cheese, butter, or a drizzle of honey. Enjoy the delicious reward of your collaborative effort!

Conclusion:
And there you have it! Our Team Breakfast recipe is more than just a meal; it’s a fantastic way to kickstart your day with energy and camaraderie. Its beauty lies in its inherent flexibility and crowd-pleasing nature. Whether you’re fueling up before a big project, celebrating a team win, or simply looking for a delicious and satisfying start to a busy week, this recipe is your go-to. The ability to customize it with different toppings and additions ensures everyone finds something they love, making it the perfect communal breakfast. So, don’t hesitate – gather your team, get cooking, and enjoy the delicious results!
Frequently Asked Questions:
Can this Team Breakfast be made ahead of time?
Absolutely! Many components of this recipe can be prepared the night before. You can chop vegetables, pre-cook any meats, and even whisk together the dry ingredients for the pancakes or waffles. This will save you precious time on the morning of your team breakfast, allowing for a more relaxed and enjoyable experience.
What are some other serving suggestions beyond the basic setup?
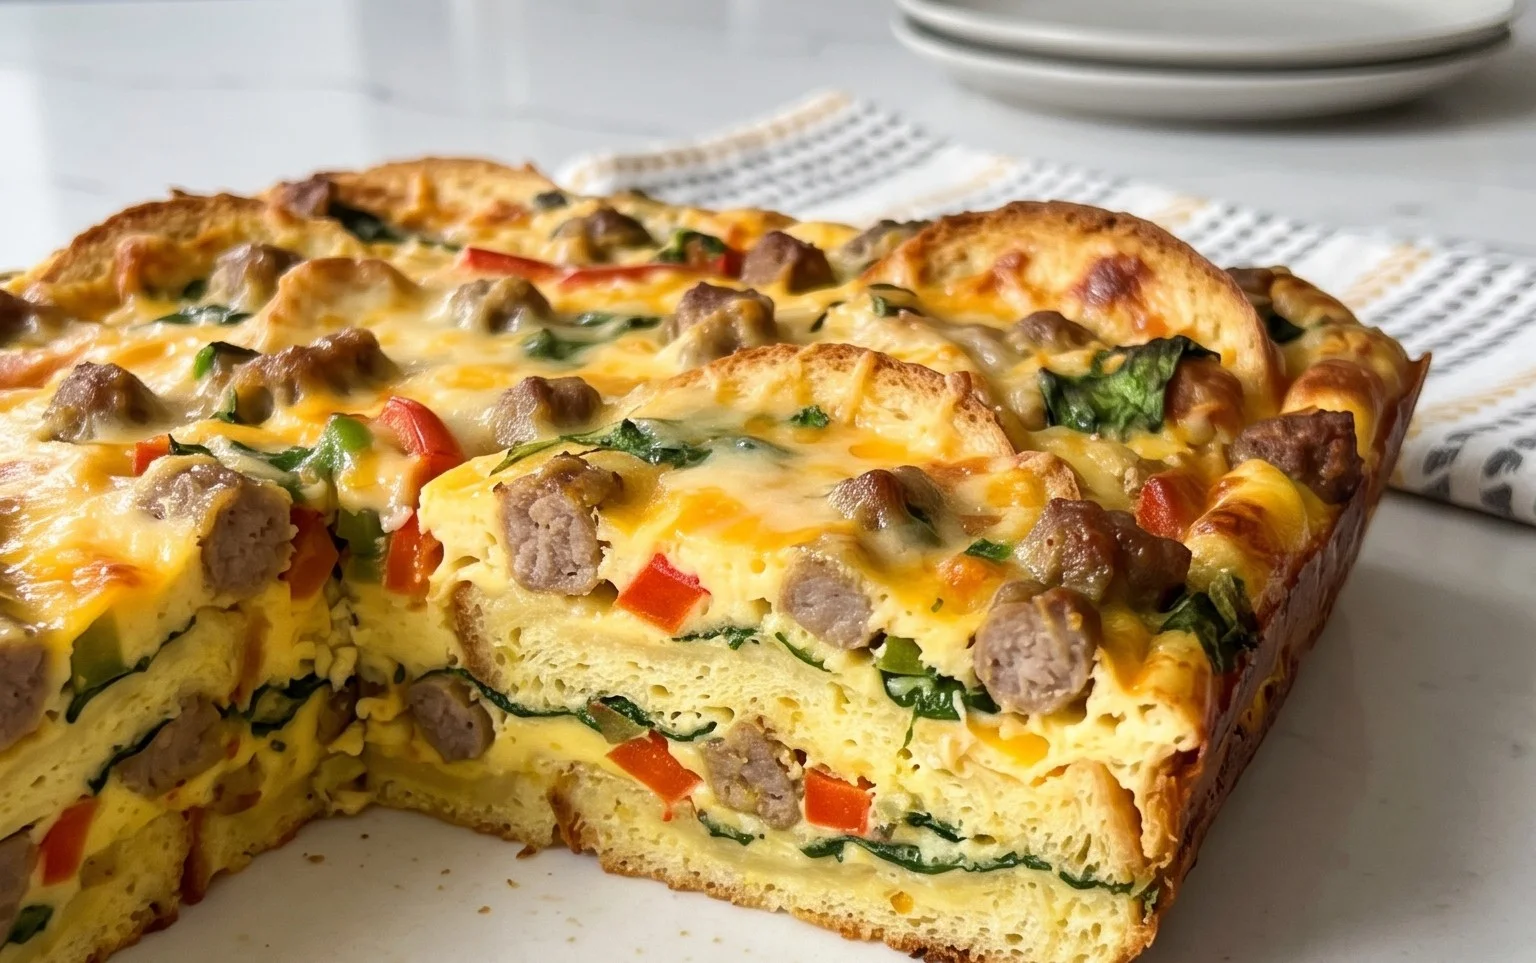
Beyond our core recommendations, consider setting up a “build-your-own” pancake or waffle bar. Offer a variety of fresh fruits like berries and sliced bananas, different types of syrup (maple, chocolate, fruit compote), whipped cream, nuts, and even some savory options like crum extractbled beef bacon or sausage links. For a lighter touch, a fresh fruit salad or a yogurt parfait station can be wonderful additions.
Is this recipe suitable for dietary restrictions?
Yes, it’s incredibly adaptable! For vegetarian or vegan teams, substitute regular sausages with plant-based alternatives and use a dairy-free milk and egg substitute for the pancakes or waffles. Gluten-free options are also easy to implement by using gluten-free flour blends. We encourage you to explore these variations to ensure everyone can partake in this delightful Team Breakfast.
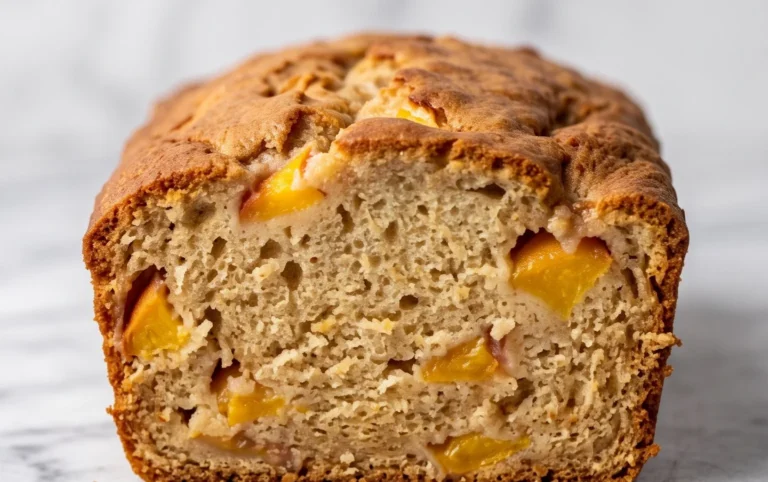
Team Breakfast Banana Bread
A delicious and easy banana bread recipe perfect for a team breakfast.
Ingredients
-
3 ripe bananas, mashed
-
1/3 cup melted butter
-
1 teaspoon baking soda
-
Pinch of salt
-
1 cup white sugar
-
1 egg, beaten
-
1 teaspoon vanilla extract
-
1 1/2 cups all-purpose flour
Instructions
-
Step 1
Preheat oven to 350 degrees F (175 degrees C). Grease and flour a 9×5 inch loaf pan. -
Step 2
In a mixing bowl, mash the ripe bananas with a fork. Stir in the melted butter. -
Step 3
Stir in the baking soda, salt, sugar, beaten egg, and vanilla extract. -
Step 4
Fold in the flour until just combined. Do not overmix. -
Step 5
Pour batter into the prepared loaf pan. -
Step 6
Bake for 60 minutes, or until a wooden skewer inserted into the center comes out clean. -
Step 7
Let cool in the pan for 10 minutes before turning out onto a wire rack to cool completely.
Important Information
Nutrition Facts (Per Serving)
It is important to consider this information as approximate and not to use it as definitive health advice.
Allergy Information
Please check ingredients for potential allergens and consult a health professional if in doubt.