Delicious Chocolate Protein Pudding Recipe – Easy & Quick
Chocolate Protein Pudding Recipe: Get ready to indulge your sweet cravings guilt-free! We all love that rich, decadent flavor of chocolate pudding, but let’s be honest, traditional versions are often loaded with sugar and lack any real nutritional punch. That’s where this incredible Chocolate Protein Pudding Recipe comes in. It’s the perfect solution for anyone seeking a healthy yet utterly satisfying dessert or post-workout treat. What makes this pudding so special? It’s packed with protein to keep you feeling full and fueled, all while delivering an intensely chocolatey experience that will have you reaching for a second serving. Forget bland and boring; this recipe is a game-changer, transforming a beloved comfort food into a powerhouse of goodness that tastes like pure bliss. You won’t believe how easy it is to whip up this luscious treat that’s both nourishing and incredibly delicious.
Why You’ll Love This Recipe:
Satisfy Cravings Healthily
Quick & Easy Preparation
Versatile & Customizable
The Ultimate Chocolate Protein Pudding Recipe
Tired of bland, chalky protein powders that leave you feeling unsatisfied? I was too! That’s why I’ve perfected this incredibly simple yet luxuriously decadent Chocolate Protein Pudding recipe. It’s the perfect guilt-free treat, a fantastic post-workout recovery meal, or even a healthy dessert that satisfies your sweet cravings without the sugar rush. Forget those pre-packaged puddings filled with artificial ingredients; this homemade version is packed with protein, uses wholesome ingredients, and tastes absolutely amazing.
The beauty of this recipe lies in its simplicity. You probably have most of the ingredients in your pantry already. It requires no baking, no complicated techniques, and can be whipped up in just a few minutes. The rich, creamy texture and deep chocolate flavor will have you wondering how something so healthy can taste so good. I love making a big batch on Sunday to have on hand for quick snacks throughout the week. It stores wonderfully in the refrigerator, making healthy eating incredibly convenient. Let’s dive into what you’ll need to create this deliciousness.
Ingredients:
Instructions:
Step 1: The Creamy Foundation
Start by gathering all your ingredients. The quality of your Greek yogurt will significantly impact the final texture and flavor. I prefer full-fat plain Greek yogurt as it offers the richest, creamiest texture and allows me to control the sweetness entirely. However, if you’re in a pinch or prefer a slightly sweeter base, full-fat vanilla Greek yogurt also works beautifully and adds an extra layer of flavor. Measure out your 5 cups of Greek yogurt and place it into a large mixing bowl. Ensure your bowl is large enough to accommodate all the ingredients and allow for easy mixing. This is the base of our pudding, so get ready for some serious creaminess!
Step 2: Introducing the Chocolatey Goodness
Now it’s time to add the star of the show: the chocolate! We’ll be using both chocolate protein powder and unsweetened cocoa powder. The protein powder not only boosts the protein content but also contributes to the chocolate flavor and helps with the pudding’s consistency. Add your 4 scoops of chocolate protein powder to the bowl. The exact amount of protein powder per scoop can vary by brand, so aim for roughly 8 to 12 tablespoons in total. Next, add the unsweetened cocoa powder. I recommend starting with 3 tablespoons and tasting as you go, adding the fourth tablespoon if you desire a more intense chocolate flavor. Unsweetened cocoa powder provides a deep, rich chocolate taste without adding extra sugar, making this pudding truly wholesome.
Step 3: Enhancing the Flavor Profile
To really elevate the chocolate notes and add a touch of sweetness, we’ll incorporate vanilla extract and maple syrup. Add 1 teaspoon of pure vanilla extract to the bowl. Vanilla is a magical ingredient that enhances and rounds out the chocolate flavor, making it taste even more complex and delicious. Then, add 2 tablespoons of maple syrup. This is where you can adjust the sweetness to your preference. I find 2 tablespoons provides a pleasant, subtle sweetness that complements the chocolate without being overpowering. If you prefer a sweeter pudding, feel free to add an extra teaspoon or two, but remember that the sweetness will also depend on the flavor of your protein powder.
Step 4: The Mixing Process
This is where the magic happens. You can use a whisk, a spatula, or even an electric mixer for this step, depending on your preference and the consistency of your yogurt. I personally prefer using a sturdy spatula or a whisk to ensure all the ingredients are thoroughly combined and no dry pockets of protein powder or cocoa remain. Begin extract mixing gently, incorporating the dry ingredients into the wet. As you mix, you’ll notice the mixture starting to thicken. Keep mixing until you achieve a smooth, uniform consistency, free of any lumps. If your Greek yogurt is particularly thick, you might need to put in a little extra elbow grease. Don’t be afraid to really get in there and combine everything thoroughly.
Step 5: Achieving the Perfect Pudding Texture and Chill
Once everything is well combined, the mixture should resemble a thick, rich pudding batter. If it seems too thick for your liking, you can add a tablespoon or two of milk (dairy or non-dairy) or even water to reach your desired consistency. Conversely, if it’s a bit too thin, you can add a tiny bit more cocoa powder or protein powder, mixing thoroughly. Now, cover the bowl tightly with plastic wrap or transfer the pudding to individual serving containers. For the best texture and to allow the flavors to meld together beautifully, refrigerate the pudding for at least 30 minutes. An hour is even better! This chilling period is crucial as it allows the pudding to thicken further and develop its signature smooth, creamy texture. It also ensures the flavors have time to harmonize.
Step 6: Serving and Enjoying Your Creation
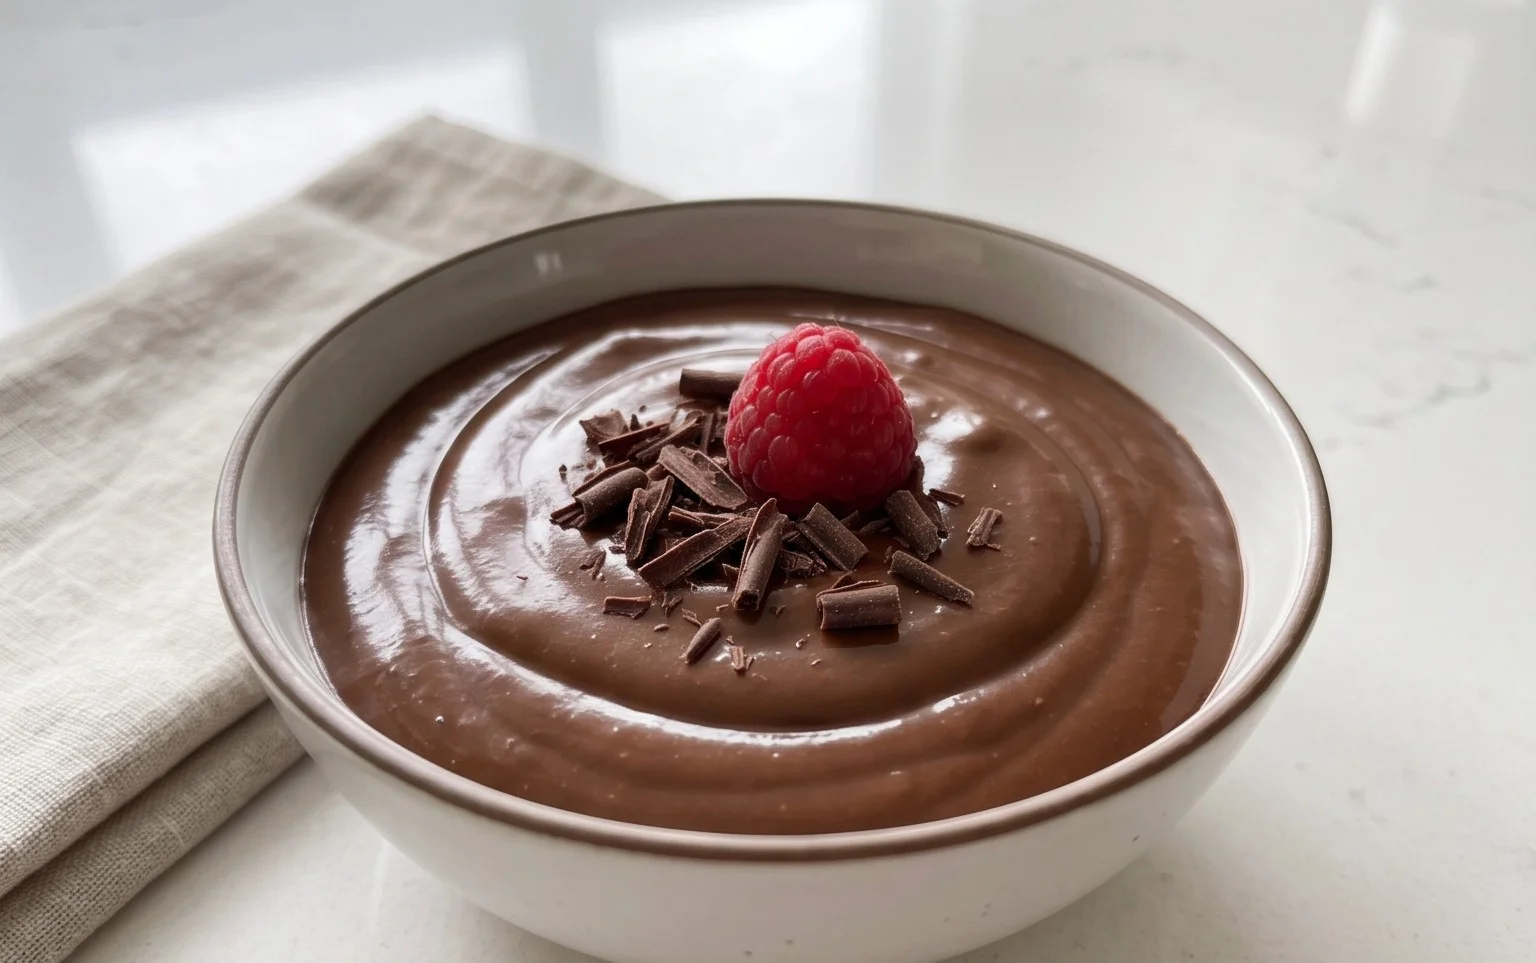
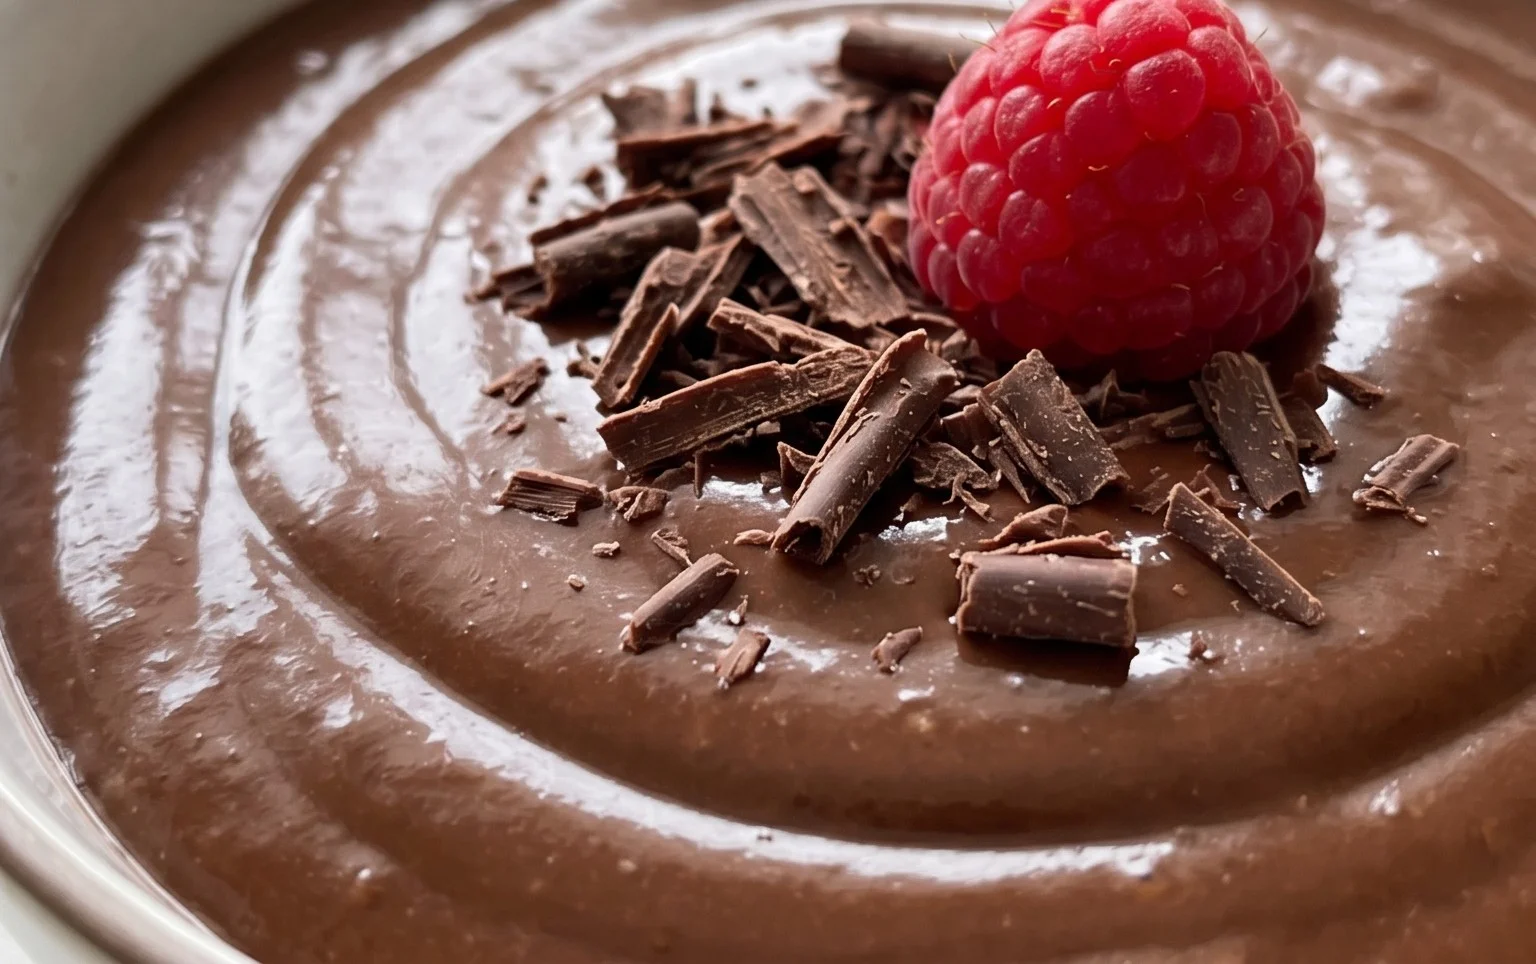
After chilling, your Chocolate Protein Pudding is ready to be enjoyed! Give it a quick stir before serving. You can serve it directly from the bowl or portion it into cute ramekins or jars. This pudding is delicious on its own, but feel free to get creative with toppings. A sprinkle of extra cocoa powder, some fresh berries, a dollop of extra Greek yogurt, or even a few dark chocolate shavings can add an extra touch of indulgence. This recipe is incredibly versatile, and the results are consistently amazing. Enjoy this healthy, satisfying, and utterly delicious treat!
Conclusion:
And there you have it! This Chocolate Protein Pudding Recipe is a game-changer for anyone looking for a delicious, satisfying, and guilt-free treat. Its incredible ease of preparation, minimal ingredients, and fantastic flavor profile make it a winner for busy weeknights or post-workout recovery. The creamy texture and rich chocolate taste will have you coming back for more, all while boosting your protein intake. I truly hope you give this recipe a try – it’s become a staple in my kitchen!
Serving this delightful pudding is as versatile as its preparation. Enjoy it chilled straight from the fridge for an instant dessert fix. For a more elevated experience, top it with fresh berries like raspberries or strawberries, a dollop of Greek yogurt or coconut whipped cream, a sprinkle of cocoa nibs, or even a few chopped nuts for added crunch. It’s also a fantastic base for parfaits, layered with granola and fruit. Don’t be afraid to experiment with variations – adding a touch of espresso powder can deepen the chocolate flavor, or a hint of cinnamon can add warmth. You could even swirl in some peanut butter for a decadent chocolate-peanut butter fusion!
Frequently Asked Questions:
Can I make this pudding ahead of time?
Absolutely! This Chocolate Protein Pudding Recipe is perfect for meal prepping. You can make it a day or two in advance and store it in individual containers in the refrigerator. The flavors actually meld and deepen beautifully overnight, making it even more delicious.
What if I don’t have protein powder? Can I still make it?
While the protein powder is key to its nutritional benefits and texture, you can technically make a chocolate pudding without it. However, it won’t have the same protein boost and might require adjustments to the liquid and thickening agents to achieve a similar consistency. For the best results and the intended protein-rich outcome, using a quality protein powder is highly recommended.
Are there any sugar-free sweetener options?
Yes, you can definitely use sugar-free sweeteners! Monk fruit sweetener, stevia, or erythritol are excellent choices. You’ll want to adjust the amount based on the sweetness of your chosen sweetener and your personal preference. Start with a small amount and taste as you go.
Chocolate Protein Pudding Recipe
A quick and easy recipe for a delicious and healthy chocolate protein pudding made with Greek yogurt.
Ingredients
-
5 cups Greek yogurt (full-fat, plain or vanilla)
-
4 scoops chocolate protein powder
-
3 to 4 tablespoons unsweetened cocoa powder
-
1 teaspoon vanilla extract
-
2 tablespoons maple syrup
Instructions
-
Step 1
In a large bowl, combine the Greek yogurt, chocolate protein powder, and unsweetened cocoa powder. -
Step 2
Add the vanilla extract and maple syrup. -
Step 3
Whisk or stir vigorously until all ingredients are well combined and smooth, ensuring no lumps of protein powder remain. -
Step 4
Taste and adjust sweetness if necessary with additional maple syrup. -
Step 5
Divide the pudding into individual serving bowls or containers. -
Step 6
Cover and refrigerate for at least 30 minutes to allow the pudding to thicken and flavors to meld. Serve chilled.
Important Information
Nutrition Facts (Per Serving)
It is important to consider this information as approximate and not to use it as definitive health advice.
Allergy Information
Please check ingredients for potential allergens and consult a health professional if in doubt.