Small Batch Vanilla Peach Jam – Easy Sweet Summer Treat
Small Batch Vanilla Peach Jam is your ticket to pure summer bliss, captured in a jar. Imagin extracte the warm, fragrant essence of ripe peaches, intensified by the subtle, sweet perfume of vanilla, transforming into a spread so delightful it feels like a decadent treat. This isn’t just any jam; it’s a celebration of peak-season produce, a way to savor those fleeting moments of sun-kissed perfection. What makes this Small Batch Vanilla Peach Jam truly special is its artisanal quality. It’s incredibly easy to make, allowing you to whip up a small, precious batch that’s far superior to anything store-bought. Forget the overly sweet, generic versions; this jam bursts with authentic peach flavor, elevated by vanilla’s sophisticated embrace. Perfect for slathering on warm toast, swirling into yogurt, or even as a secret ingredient in your baking, this Small Batch Vanilla Peach Jam is destined to become a cherished favorite.
Small Batch Vanilla Peach Jam
There’s something incredibly special about homemade jam. The aroma alone can transport you back to sun-drenched summer days, and the taste? Well, it’s pure concentrated bliss. This small-batch vanilla peach jam is my go-to for capturing the essence of peak-season peaches. It’s simple, elegant, and the touch of vanilla adds a wonderful depth that makes it truly irresistible. Making jam in smaller batches means you can enjoy it at its freshest and avoid that overwhelming feeling of having too much preserved goodness all at once. Plus, it’s a fantastic way to use up a handful of beautiful, ripe peaches without committing to a massive canning project. Let’s get started!
Ingredients:
Cooking Instructions:
The process of making this jam is surprisingly straightforward, and the reward is absolutely worth it. We’ll start by preparing our star ingredient, the peaches, and then move on to the cooking process.
1. Prepare the Peaches: First, you’ll want to select the ripest, most fragrant peaches you can find. The riper they are, the sweeter and more flavorful your jam will be. To prepare them, I like to start by blanching them to make peeling a breeze. Bring a pot of water to a rolling boil. Score a shallow ‘X’ on the bottom of each peach. Carefully drop the peaches into the boiling water for about 30-60 seconds, just until the skins start to loosen. Immediately scoop them out with a slotted spoon and plunge them into a bowl of ice water to stop the cooking. Once cooled, the skins should peel off easily. After peeling, cut each peach in half and remove the pit. Then, finely chop the peach flesh. The smaller the pieces, the faster they will break down and meld into a jam-like consistency. For this recipe, we’re aiming for about 3 pounds of prepared, chopped peach flesh.
2. Combine and Macerate: Once your peaches are chopped, place them into a large, non-reactive saucepan or a wide, heavy-bottomed pot. This size pot is important; it allows for even cooking and evaporation, which is crucial for jam. Now, sprinkle the 1 cup of granulated sugar over the chopped peaches. Give everything a good stir to ensure the sugar is evenly distributed. At this stage, I like to let the peaches and sugar sit for about 30 minutes to an hour. This process, called maceration, allows the sugar to draw out the natural juices from the peaches. You’ll notice a pool of syrupy liquid forming at the bottom of the pot, which is exactly what we want. This helps the peaches soften and begin extract to break down naturally before we even turn on the heat, leading to a smoother, more consistent jam.
3. Cook the Jam: Now it’s time to bring our mixture to a gentle simmer. Place the pot over medium heat. Stir frequently as the mixture heats up to help dissolve the remaining sugar and prevent sticking. Once the mixture begin extracts to bubble, reduce the heat to medium-low. You want a gentle, steady simmer, not a furious boil. Continue to cook, stirring often, for about 30-45 minutes, or until the jam has thickened to your desired consistency. How do you know it’s ready? A good test is the “plate test.” Place a small plate in the freezer before you start cooking. When you think the jam might be ready, spoon a little bit onto the cold plate. Let it sit for about 30 seconds, then gently push it with your finger. If the surface wrinkles, it’s ready. If it’s still very runny, continue cooking and testing every 5-10 minutes. As the jam cooks, you’ll notice the color deepening and the fruit breaking down into a lovely spreadable texture. Skim off any foam that rises to the surface during cooking; this will give your jam a clearer appearance.
4. Add the Vanilla and Finish Cooking: Once the jam has reached your desired thickness, it’s time to add the star flavor enhancer: vanilla extract. Stir in the 2 teaspoons of pure vanilla extract. This is added at the end because prolonged heating can sometimes diminish the delicate aroma and flavor of vanilla. Continue to cook for another 5 minutes, stirring well, to allow the vanilla to infuse throughout the jam and for the jam to thicken up just a little bit more. Taste the jam at this point and adjust sweetness if needed, though with ripe peaches, it usually doesn’t require any extra sugar. Remember, the jam will continue to thicken as it cools, so don’t overcook it to the point where it’s too firm when hot.
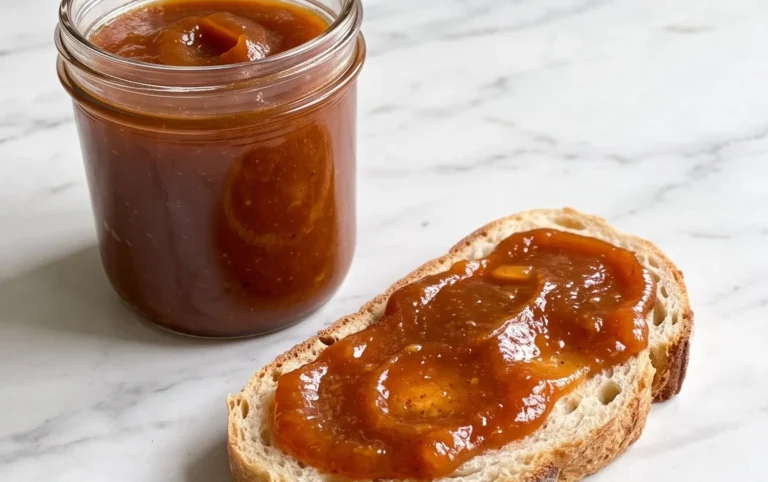
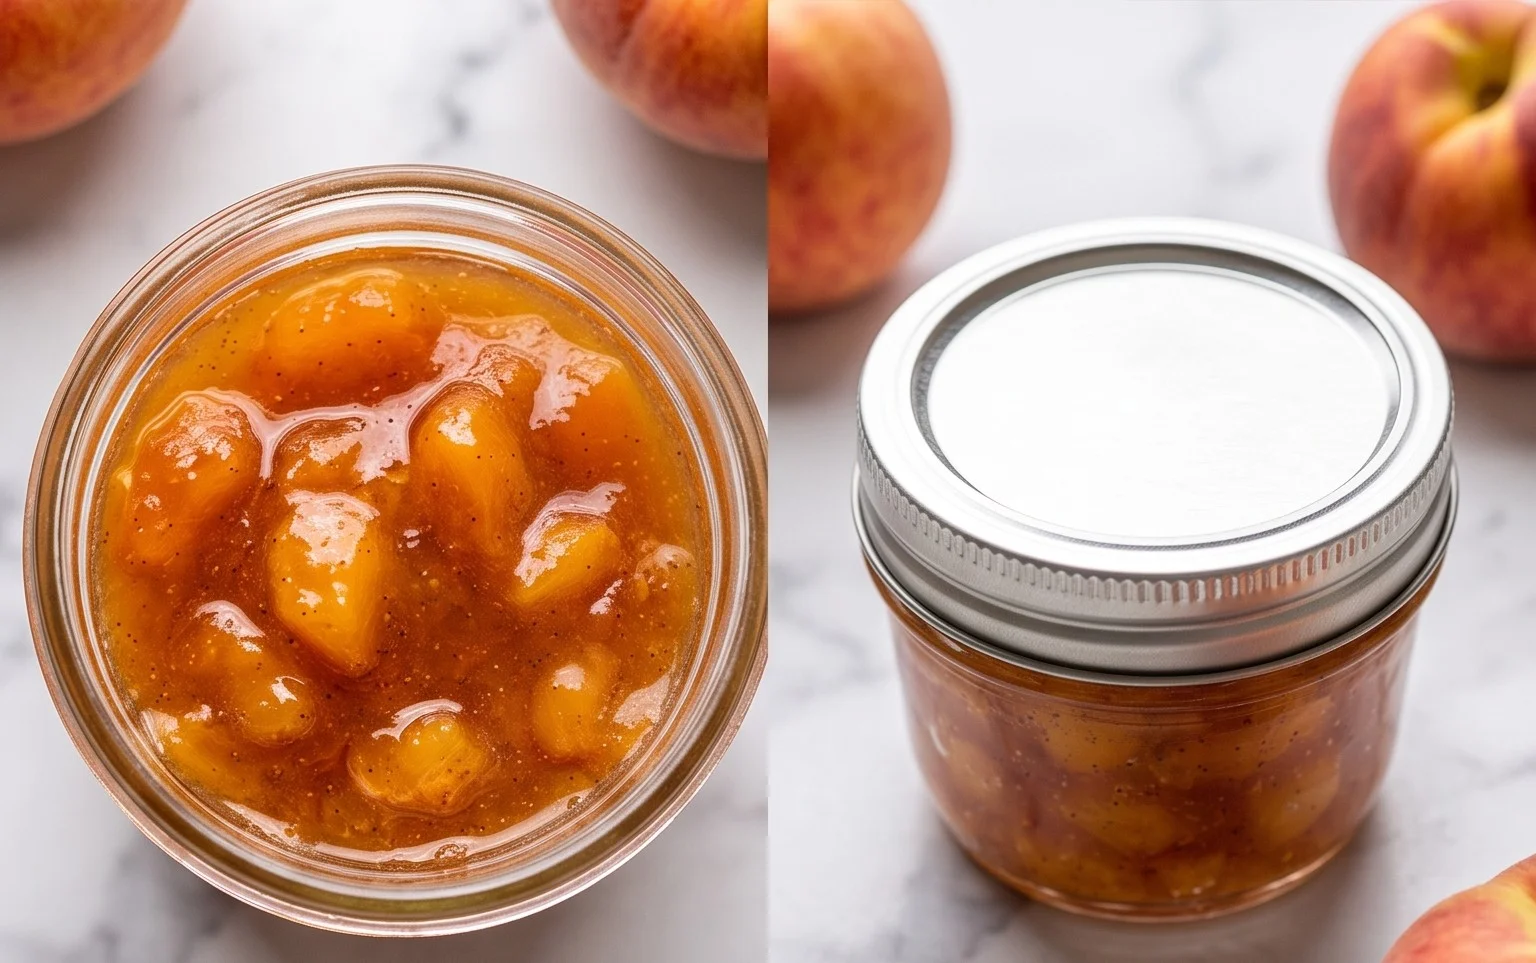
5. Jar the Jam: Once the jam is perfectly thickened and the vanilla has been incorporated, carefully ladle the hot jam into clean, sterilized jars. I typically use small jars for this small batch, which makes for lovely gifts or just easier storage for my family. Leave about a quarter-inch of headspace at the top of each jar. Wipe the rims of the jars clean with a damp cloth to ensure a good seal. Place the lids on the jars and screw on the bands until they are fingertip-tight. For immediate consumption or refrigeration, you can let the jars cool on the counter and then store them in the refrigerator. If you wish to preserve this jam for longer-term storage, you would typically process the jars in a boiling water bath canner according to specific guidelines, but for this small batch, refrigeration is perfectly fine and ensures you get to enjoy its freshness quickly. The jam will continue to thicken as it cools completely. Once cool, the jam should be a beautiful, glistening spread, ready to be slathered on toast, scones, or anything your heart desires. Enjoy!
Conclusion:
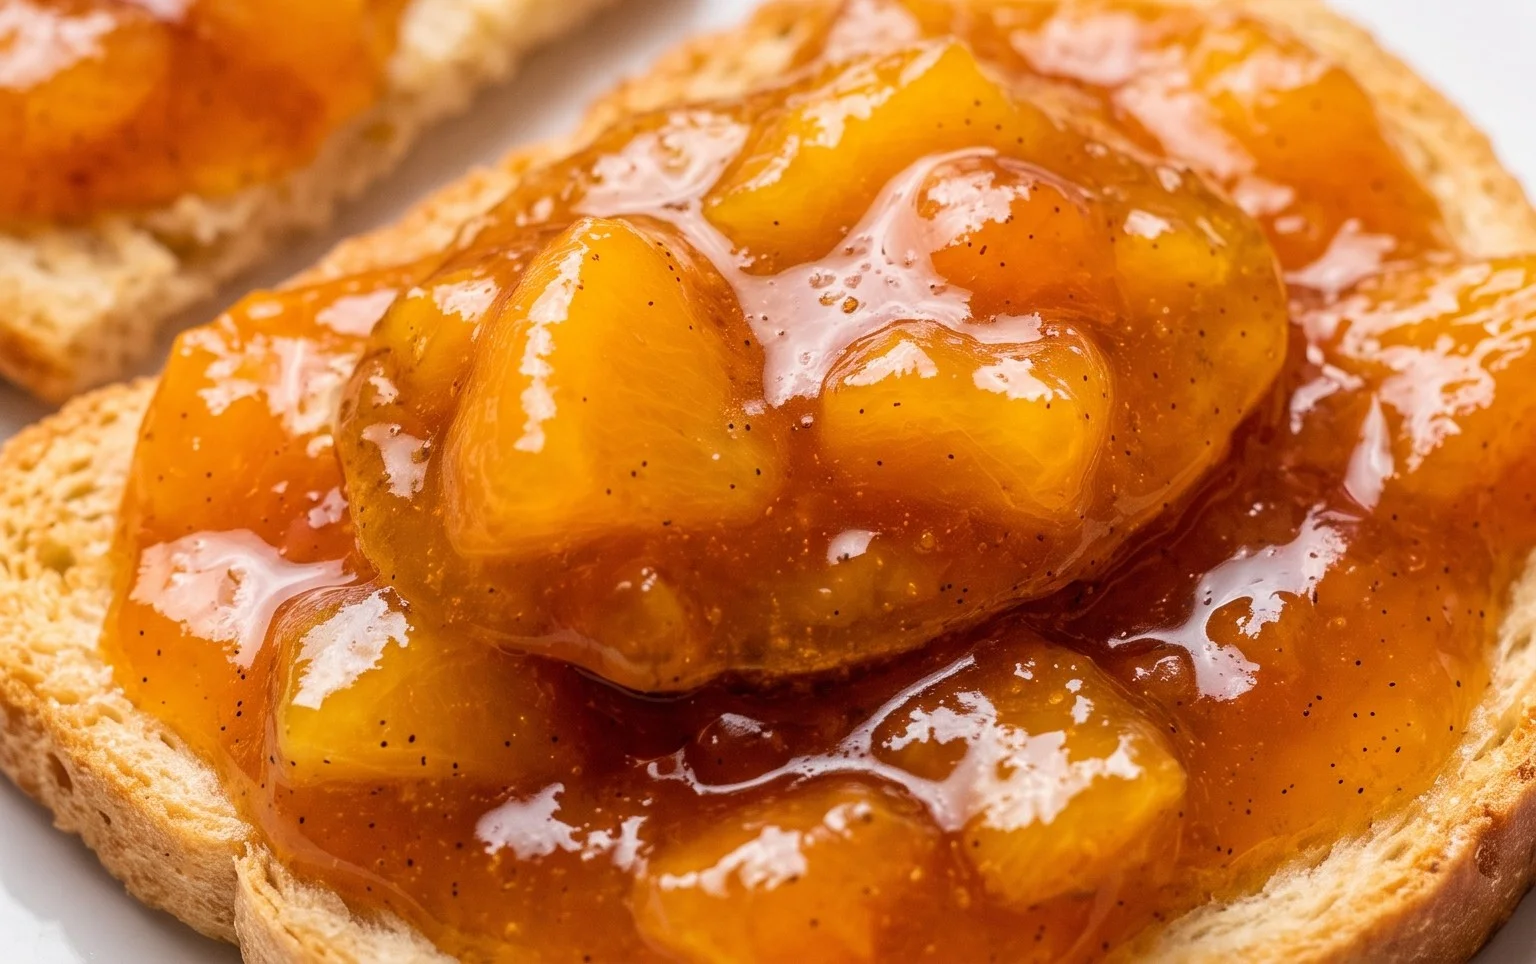
And there you have it! I truly hope you enjoyed learning how to make this delightful Small Batch Vanilla Peach Jam. This recipe is fantastic because it allows you to capture the peak season flavor of ripe peaches without ending up with jars upon jars of jam. The subtle hint of vanilla adds a sophisticated twist to the classic peach taste, making it truly special. Imagin extracte spreading this vibrant jam on warm, buttery toast, swirling it into your morning yogurt, or using it as a luscious filling for tarts and cakes. The possibilities are endless!
Don’t be afraid to experiment with variations! If you’re feeling adventurous, consider adding a pinch of cinnamon or a splash of bourbon extract for an extra layer of warmth and complexity. Or, try incorporating a few fresh mint leaves for a refreshing contrast. The beauty of small-batch canning is its flexibility. I wholeheartedly encourage you to give this Small Batch Vanilla Peach Jam recipe a try. It’s a rewarding and delicious way to savor the best of summer!
Frequently Asked Questions:
Why use a small batch recipe for jam?
Small batch recipes are perfect for using up a smaller quantity of fruit, like the peaches you might pick yourself or find at a local farmer’s market. They also reduce the risk of spoilage if you don’t typically consume large amounts of jam, and they allow for quicker cooking times, often resulting in a fresher, brighter fruit flavor.
Can I use frozen peaches for this recipe?
Yes, you absolutely can! If you’re using frozen peaches, thaw them completely and drain off any excess liquid before proceeding with the recipe. The texture might be slightly softer after thawing, but the jam will still be delicious.
How long does this jam typically last?
When properly canned and stored in a cool, dark place, this small batch jam can last for up to a year. Once opened, it should be refrigerated and consumed within 2-3 weeks to maintain the best quality and flavor.
Small Batch Vanilla Peach Jam
A simple and flavorful small batch vanilla peach jam, perfect for preserving the taste of summer.
Ingredients
-
3 pounds peaches, pit removed, peach flesh finely chopped
-
1 cup sugar
-
2 teaspoons vanilla extract
-
1/4 cup lemon juice
-
1/4 teaspoon ground cinnamon
Instructions
-
Step 1
Combine chopped peaches and sugar in a large, heavy-bottomed pot. -
Step 2
Let stand for 15-20 minutes, stirring occasionally, until sugar begins to dissolve and peaches release juices. -
Step 3
Add lemon juice and cinnamon. Bring mixture to a boil over medium-high heat, stirring constantly. -
Step 4
Reduce heat to medium-low and simmer, stirring frequently, until jam has thickened enough to coat the back of a spoon, about 20-30 minutes. Skim off any foam that appears. -
Step 5
Stir in vanilla extract. -
Step 6
Ladle hot jam into clean jars, leaving about 1/4 inch headspace. Seal and process in a boiling water bath for 10 minutes, or refrigerate for immediate use.
Important Information
Nutrition Facts (Per Serving)
It is important to consider this information as approximate and not to use it as definitive health advice.
Allergy Information
Please check ingredients for potential allergens and consult a health professional if in doubt.