Easy No Yeast Pizza Dough – Homemade Pizza Quick
An excellent No Yeast Pizza Dough is about to revolutionize your weeknights! Do you ever get that intense craving for a cheesy, bubbly, perfectly cooked pizza, only to realize you don’t have yeast or the time for a lengthy proofing process? I’ve been there, and trust me, this recipe is your delicious solution. Forget the store-bought bases or the disappointment of a forgotten yeast packet. What makes this no yeast pizza dough so special is its incredible speed and simplicity, without sacrificing that authentic pizza texture we all adore. You get that satisfying chew and a lovely crispness, all from pantry staples you likely already have on hand. Imagin extracte pulling a hot, homemade pizza from your oven in under an hour from start to finish. That’s the magic of this excellent No Yeast Pizza Dough. It’s the ultimate answer for spontaneous pizza nights, busy weeknights, or whenever that pizza craving strikes with urgency. Get ready to impress yourself and everyone you share it with – this is truly an excellent No Yeast Pizza Dough.
No Yeast Pizza Dough – Quick Easy Homemade Pizza!
There are times when the craving for pizza hits, and waiting for yeast dough to rise just isn’t an option. Whether it’s a weeknight dinner emergency or a spontaneous movie night, this no-yeast pizza dough is your savior. It’s incredibly quick, remarkably easy to make, and results in a delicious pizza base that’s perfect for all your favorite toppings. You’ll be amazed at how simple it is to whip up a fantastic homemade pizza from scratch without a speck of yeast. This recipe focuses on creating a tender, slightly chewy crust with a satisfying crispness, all achieved with pantry staples.
Ingredients:
Instructions:
The beauty of this no-yeast pizza dough lies in its simplicity. We’re leveragin extractg the power of baking powder to give our crust its lift, making it an excellent alternative for when time is of the essence. Let’s get started!
Mixing the Dry Ingredients
In a medium-sized mixing bowl, begin extract by combining all your dry ingredients. This includes the 1 1/3 cups of bread flour. If you don’t have bread flour, all-purpose flour will work perfectly fine, though bread flour will give you a slightly chewier texture thanks to its higher protein content. To this, add the 2 teaspoons of baking powder. This is our leavening agent, so ensure it’s fresh for the best results. Next, add the 3/4 teaspoon of salt for flavor and the 3/4 teaspoon of sugar. The sugar not only adds a touch of sweetness but also helps to lightly brown the crust as it bakes.
Incorporating the Wet Ingredients
Once your dry ingredients are well combined, it’s time to introduce the wet components. Make a well in the center of your dry mixture. Pour in the 2 teaspoons of olive oil. Olive oil adds richness and helps to tenderize the dough. Then, gradually add the 1/2 cup of cold tap water. It’s important to use cold water here; it helps to control the gluten development, leading to a more tender crust. Begin extract to mix everything together. You can use a fork or a spatula at this stage. You want to incorporate all the flour from the sides of the bowl into the wet ingredients.
Forming and Kneading the Dough
As the mixture starts to come together, it will form a shaggy dough. At this point, you can switch to using your hands. Lightly flour your work surface with a little of the 1 tablespoon of extra flour. Turn the dough out onto the floured surface. Now, gently knead the dough. You don’t need to knead this dough extensively like you would a yeast dough. Just a few minutes of kneading, about 5-7 minutes, is sufficient to bring it together into a smooth, elastic ball. The goal is to develop just enough gluten to give the dough structure. If the dough feels too sticky, add a tiny bit more flour, a teaspoon at a time, but be careful not to add too much, as this can make the crust tough. Conversely, if it seems too dry, wet your hands slightly and continue kneading.
Resting and Shaping the Dough
Once your dough is smooth and elastic, form it into a ball. You can cover the dough with a clean kitchen towel or a piece of plastic wrap and let it rest for about 10 minutes. This short resting period allows the gluten to relax, making it much easier to shape. After the rest, you can begin extract to shape your pizza. On a lightly floured surface, gently press and stretch the dough outwards with your fingertips or a rolling pin to your desired pizza shape and thickness. I usually aim for a round pizza about 10-12 inches in diameter. Don’t worry if it’s not perfectly round; rustic is good too! If you plan to make multiple smaller pizzas, divide the dough accordingly before shaping.
Pre-baking and Topping
Preheating your oven is crucial for a great pizza crust. Preheat your oven to a high temperature, typically 450°F (230°C). If you have a pizza stone or steel, place it in the oven while it preheats. This will help to create a wonderfully crispy bottom crust. Carefully transfer your shaped pizza dough to a pizza peel or a baking sheet lined with parchment paper. Now, for an extra crispy crust, I recommend a quick pre-bake. Brush the edges of the crust with the 2 teaspoons of vegetable oil (optional). This adds a lovely golden sheen and extra crispness. Place the pizza base in the hot oven and bake for about 5-7 minutes, or until it’s slightly puffed and just begin extractning to turn golden. This step prevents the crust from becoming soggy when you add your toppings. Once pre-baked, carefully remove the pizza base from the oven. Now you can add your favorite sauce, cheese, and toppings. Get creative and have fun!
Baking to Perfection
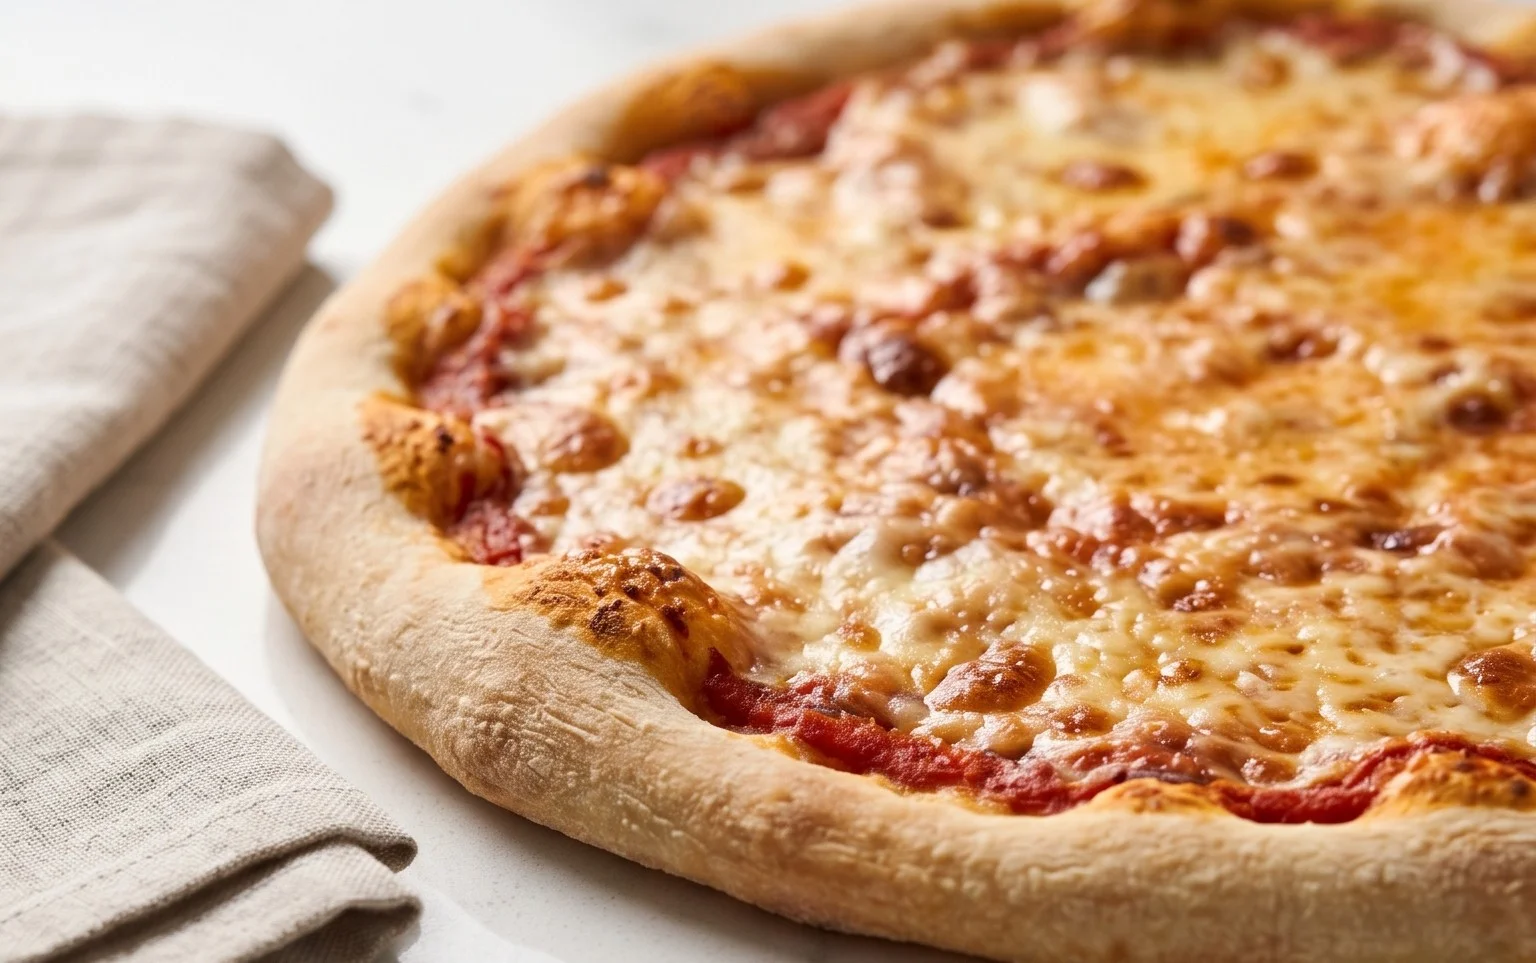
After you’ve adorned your pizza with all your desired toppings, return it to the hot oven. Bake for another 10-15 minutes, or until the crust is golden brown and the cheese is melted and bubbly. Keep an eye on it to ensure it doesn’t burn. The exact baking time will depend on your oven and the thickness of your crust. Once it’s perfectly cooked, remove it from the oven. Let it cool for a minute or two before slicing and serving. You’ll be amazed at how quickly you went from craving pizza to enjoying a delicious, homemade pie. This no-yeast dough is a fantastic staple to have in your repertoire!
Conclusion:
You’ve now got the secret to incredibly quick and easy homemade pizza without any yeast! This no yeast pizza dough recipe is truly a game-changer for those busy weeknights or spontaneous pizza cravings. Its simplicity means you can go from pantry staples to a delicious pizza base in no time at all, offering a satisfying chew and a delightful crispiness that rivals traditional pizza. What makes this recipe so excellent is its accessibility; no need to wait for dough to rise, making homemade pizza a realistic option any day of the week!
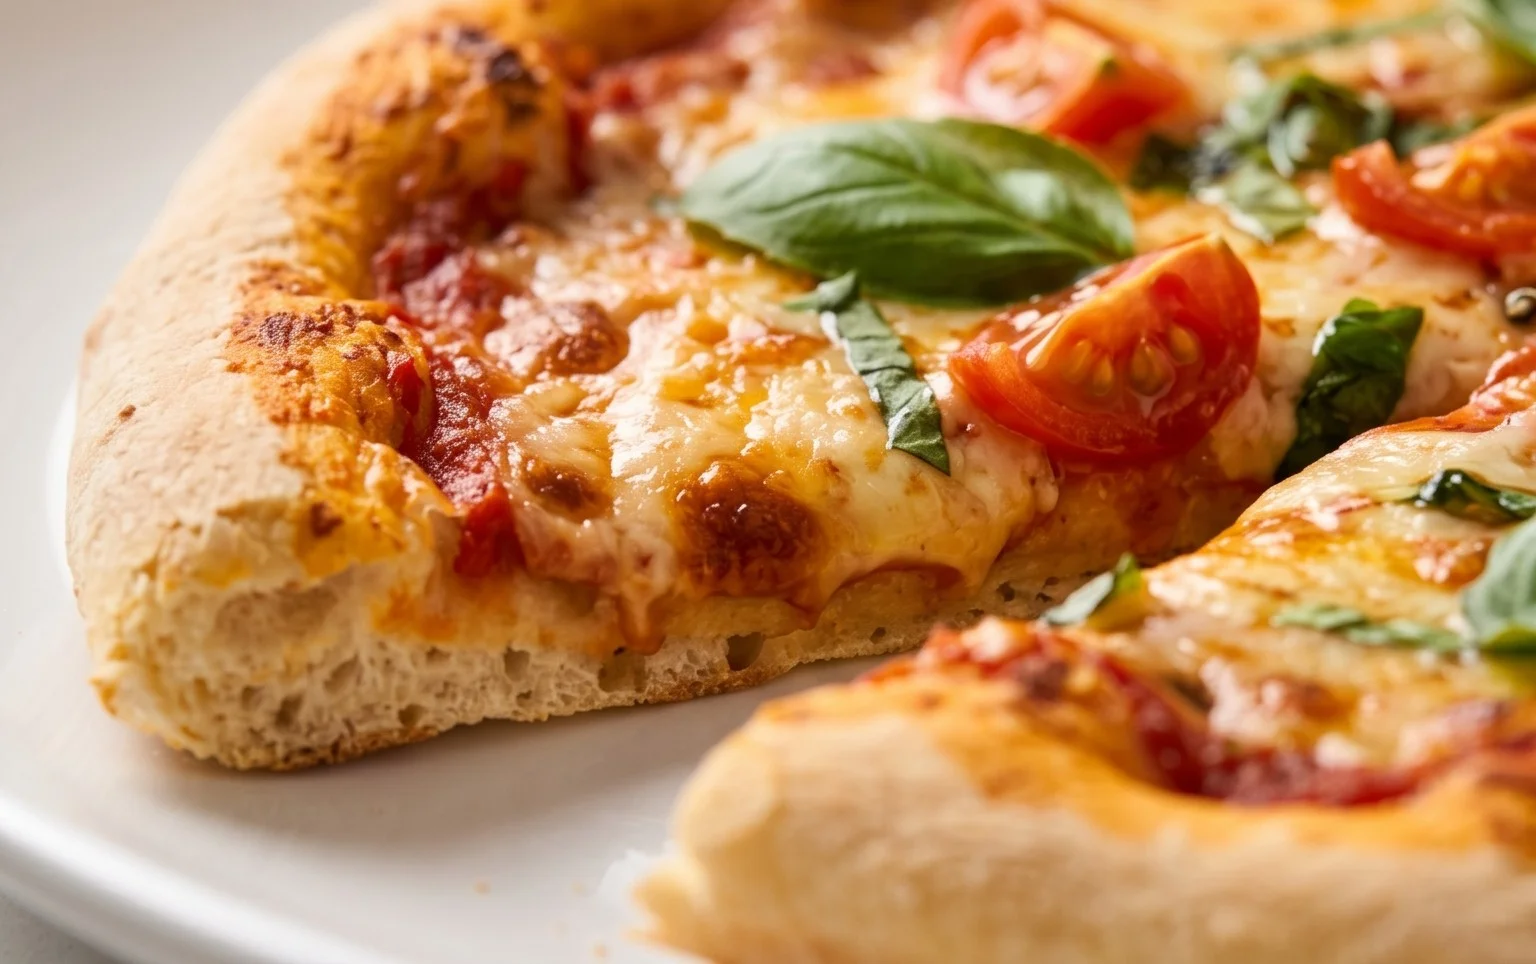
We love serving this versatile dough with classic marinara and mozzarella, but feel free to get creative! Try it with a pesto base, a white garlic sauce, or even a balsamic glaze. Load it up with your favorite vegetables, a variety of cheeses, or any protein you desire. This no yeast pizza dough is the perfect canvas for your culinary imagin extractation. Don’t hesitate to experiment with different toppings and flavor combinations. I genuinely encourage you to give this recipe a try – you’ll be amazed at how simple and rewarding it is to create your own delicious pizza from scratch!
Frequently Asked Questions:
Can I make this no yeast pizza dough ahead of time?
Yes, you can prepare the dough and store it in an airtight container in the refrigerator for up to 2 days. Allow it to come to room temperature for about 30 minutes before shaping for easier handling.
What’s the best way to get a crispy crust?
For an extra crispy crust, preheat your oven with a pizza stone or baking steel inside for at least 30 minutes. Place the shaped dough directly onto the hot stone or steel for baking.
Can I use a different type of flour?
While all-purpose flour works best for this recipe’s texture, you can experiment with a blend of whole wheat flour. You might need to adjust the liquid slightly as whole wheat flour can absorb more moisture.
An Excellent No Yeast Pizza Dough – Quick Easy Homemade Pizza!
A super quick and easy homemade pizza dough recipe that doesn’t require yeast, perfect for a fast weeknight meal.
Ingredients
-
1 1/3 cups bread flour
-
2 tsp baking powder
-
3/4 tsp salt
-
3/4 tsp sugar
-
2 tsp olive oil
-
1/2 cup water
-
1 tbsp Extra Flour (, for dusting)
-
2 tsp vegetable oil (, for brushing crust)
Instructions
-
Step 1
In a large bowl, whisk together the bread flour, baking powder, salt, and sugar. -
Step 2
Add the olive oil and water to the dry ingredients. -
Step 3
Mix until a shaggy dough forms. Turn out onto a lightly floured surface and knead for 5-7 minutes until smooth and elastic. -
Step 4
Shape the dough into a ball. If not using immediately, place in a lightly oiled bowl, cover, and refrigerate. For immediate use, proceed to the next step. -
Step 5
Preheat your oven and pizza stone or baking sheet to 450°F (230°C). -
Step 6
Roll or stretch the dough to your desired pizza shape on a floured surface. Transfer to a pizza peel or parchment paper. -
Step 7
Add your favorite toppings. Brush the crust with vegetable oil if desired. -
Step 8
Bake for 15-20 minutes, or until the crust is golden brown and the cheese is melted and bubbly.
Important Information
Nutrition Facts (Per Serving)
It is important to consider this information as approximate and not to use it as definitive health advice.
Allergy Information
Please check ingredients for potential allergens and consult a health professional if in doubt.