Quick Pickled Red Onions – Easy Flavor Boost
Pickled Red Onions are more than just a condiment; they’re a vibrant flavor bomb that can transform any dish from ordinary to extraordinary. If you’ve ever wondered how those dazzling pink strands appear atop your tacos, salads, or avocado toast, you’re in the right place. There’s a reason these beauties are so beloved: their addictive sweet-tart punch and satisfying crunch offer a refreshing counterpoint to rich, savory flavors. What truly makes pickled red onions special is their incredible versatility and the sheer ease with which you can make them. Forget the store-bought versions that can sometimes be overly vinegary; this homemade pickled red onion recipe puts you in complete control, allowing you to customize the tangin extractess and sweetness to your exact preference. Prepare to unlock a world of culinary possibilities with this simple yet sensational pantry staple.
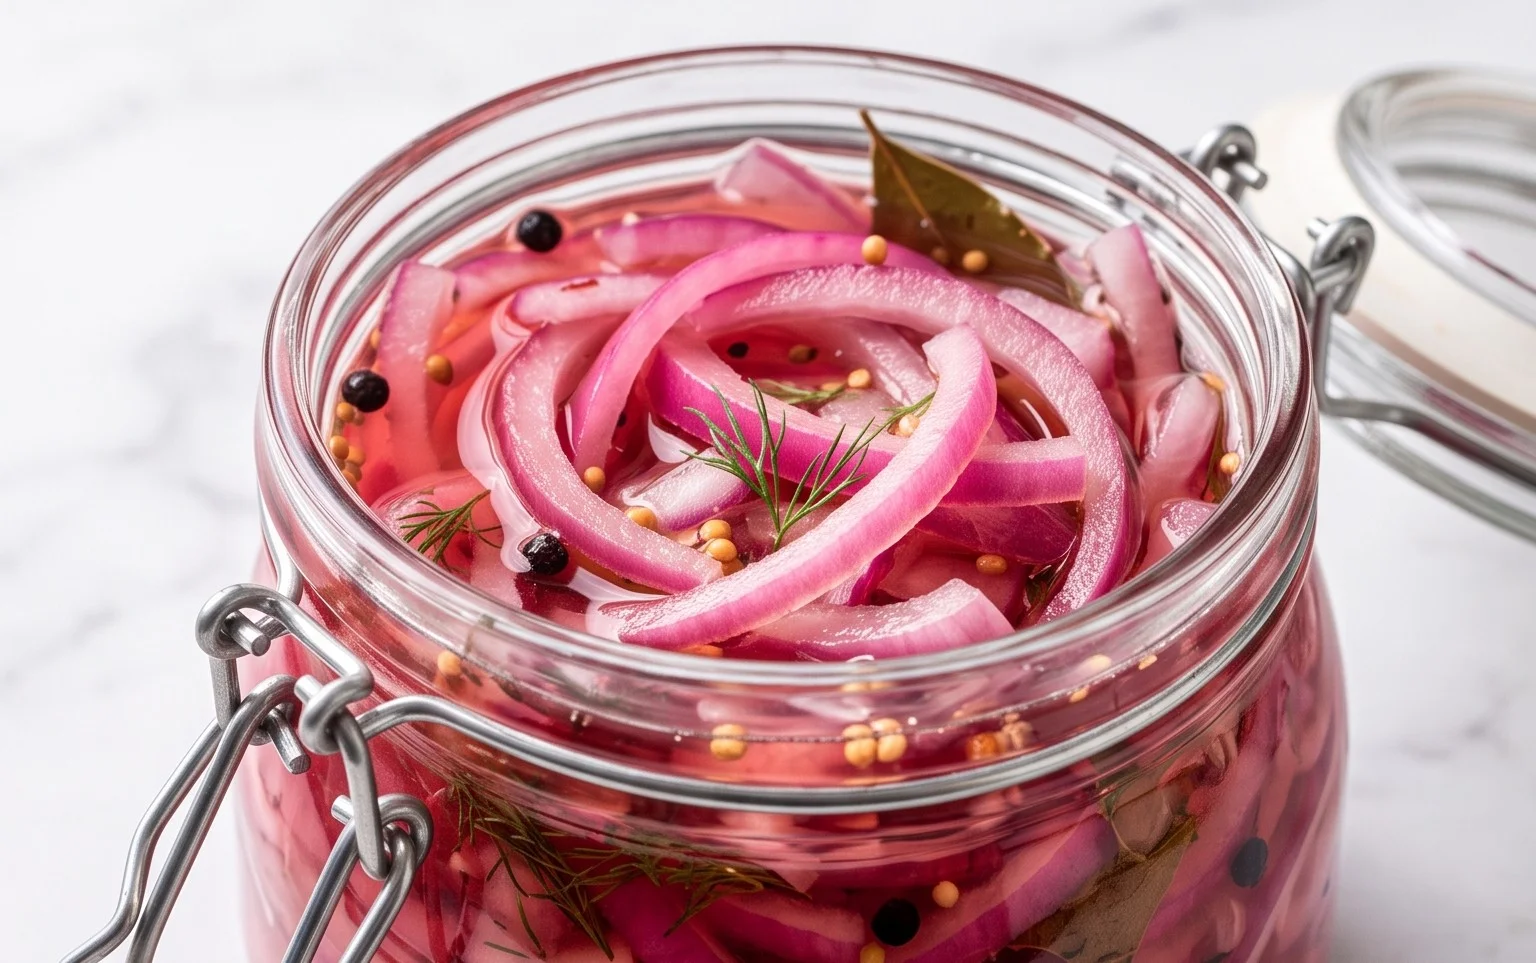
Pickled Red Onions
There’s something truly magical about pickled red onions. These vibrant, jewel-toned slivers elevate everyday dishes from ordinary to extraordinary. Their bright, tangy flavor and satisfying crunch offer a delightful counterpoint to rich, savory, and even sweet foods. Imagin extracte them perched atop tacos, stirred into salads, nestled beside grilled meats, or even sprinkled onto avocado toast. They’re incredibly versatile and surprisingly simple to make, requiring just a handful of pantry staples and a little bit of time. Once you try them, you’ll wonder how you ever lived without them. They store beautifully in the refrigerator, meaning you can have this flavor-boosting powerhouse on hand for weeks. Let’s dive into how easy it is to create your own batch.
Ingredients:
Instructions:
Prepare the Onions
The first step is to prepare your star ingredient: the red onion. For the most appealing presentation and even pickling, you’ll want to slice the onion thinly. Start by trimming off the top and bottom ends of the onion. Then, peel away the papery outer skin. For thin, uniform slices, I find it easiest to cut the onion in half vertically, through the root end. Place the cut side down on your cutting board. This stable surface will prevent the onion from rolling. Now, using a sharp knife, carefully slice the onion as thinly as you can. Aim for slices that are almost translucent. You can achieve this by slicing crosswise. If you have a mandoline slicer, this is an excellent tool for getting perfectly even, paper-thin slices, but a sharp knife will do the job beautifully. As you slice, you’ll notice the onion’s layers separating, which is exactly what we want. Place all your beautifully sliced red onion into a heatproof jar or bowl. A mason jar with a lid is ideal for storage later, but for the initial pickling process, any heatproof container will work.
Create the Brine
Next, we’ll create the flavorful brine that will transform our humble red onion into something spectacular. In a small saucepan, combine the white vinegar and water. White vinegar is crucial here as its acidity is what preserves the onions and provides that signature tangy flavor. The water helps to mellow the sharpness of the vinegar slightly, creating a more balanced pickle. Now, add the sugar. As mentioned in the ingredients, sugar is optional. If you’re watching your sugar intake or prefer a less sweet pickle, feel free to omit it or use a sugar substitute. Sugar helps to balance the tartness of the vinegar and also contributes to the bright pink hue of the pickled onions. Finally, add the kosher salt. Kosher salt has a coarser grain than table salt, which makes it easier to measure and dissolve. It also has a cleaner, less metallic taste. Place the saucepan over medium heat on your stovetop. Stir the mixture gently as it heats up. You want to bring the brine just to a simmer. You don’t need to boil it vigorously; just heat it enough so that the sugar and salt are completely dissolved and the liquid is hot. This hot brine is essential for properly softening the onion slices and allowing them to absorb the pickling liquid.
Combine and Infuse
Once the brine is hot and the sugar and salt have dissolved, carefully remove the saucepan from the heat. This is where the magic really begin extracts to happen. Gently pour the hot brine over the sliced red onions in your jar or bowl. Make sure that all the onion slices are completely submerged in the liquid. If some pieces are floating, you can press them down with a spoon or another utensil to ensure they are covered. The hot brine will immediately start to work its magic, wilting the onions slightly and begin extractning the pickling process. You’ll notice the vibrant red of the onions starting to bleed into the brine, giving it a beautiful pinkish hue. This color change is a sign that the pickling process is underway. Allow the onions to sit in the hot brine for at least 30 minutes at room temperature. This initial infusion period allows the flavors to meld and the onions to soften. For a more intense pickle, you can let them sit for up to an hour.
Cool and Chill
After the initial infusion period, it’s time to let the pickled onions cool down completely. If you are using a jar, you can simply leave it on the counter to cool. If you used a bowl, you can transfer the onions and brine to your storage container at this point. Once the mixture has reached room temperature, cover the jar or container tightly with a lid. Now, the most crucial part for long-term storage and optimal flavor development: refrigeration. Place the covered jar into your refrigerator. The cold temperature will slow down the pickling process, allowing the flavors to deepen and mature without making the onions mushy. The longer they sit in the refrigerator, the more the flavors will develop. I usually like to let them chill for at least a few hours before diving in, but they are typically best after 24 hours. The pickling process continues slowly in the fridge, and the onions will become more tender and their flavor will become more pronounced and nuanced over time.
Storage and Enjoyment
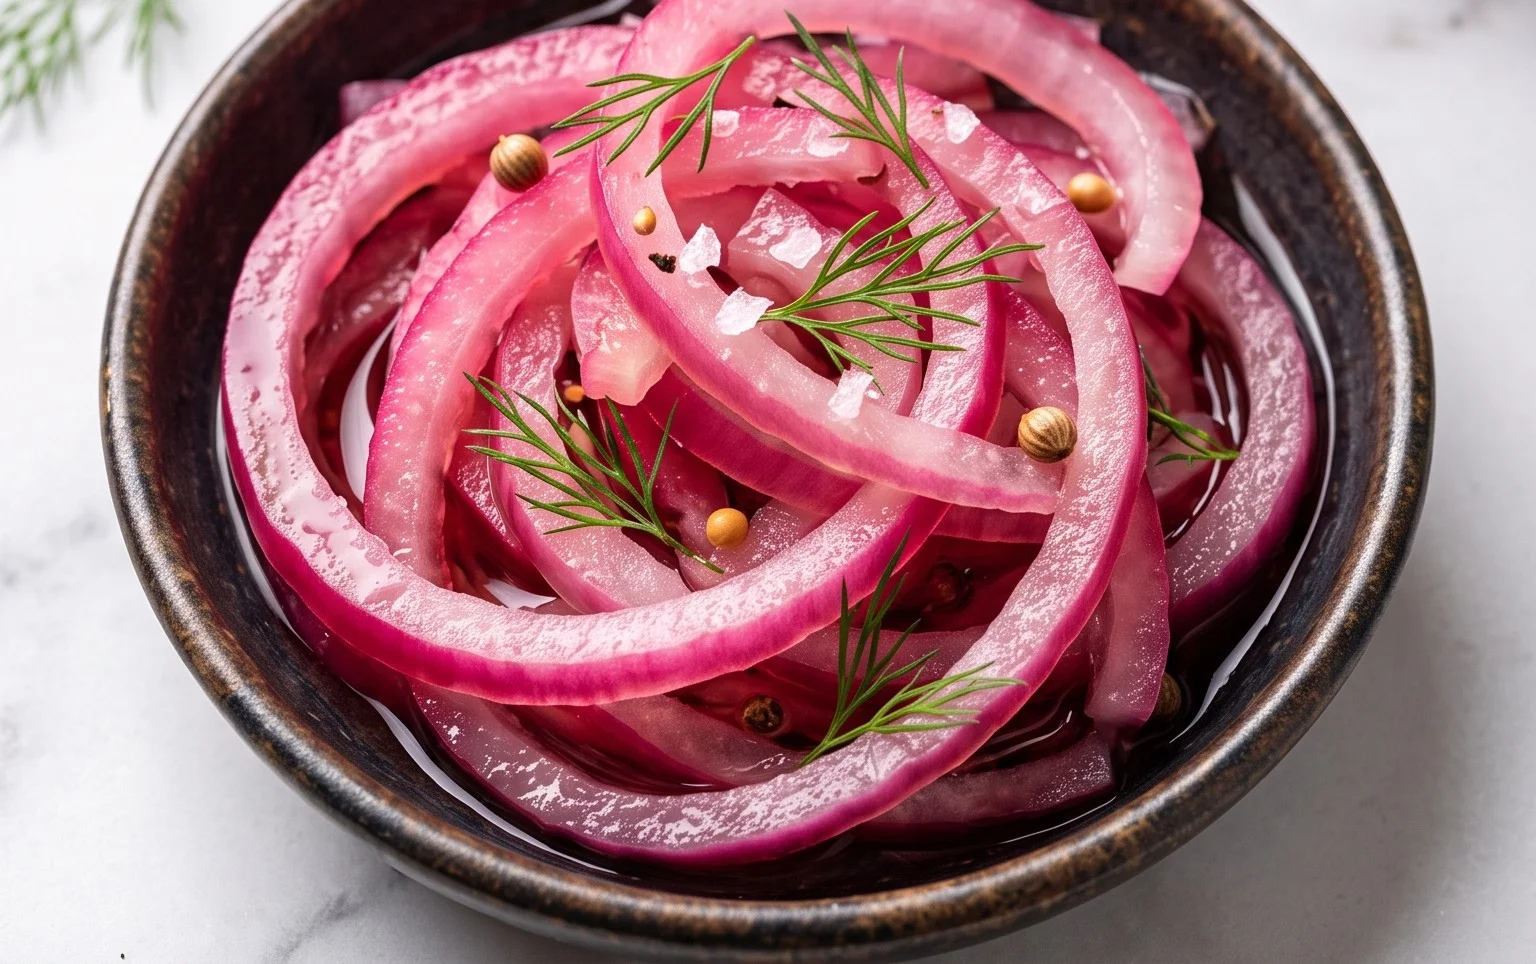
Your delicious pickled red onions are now ready to be enjoyed! They will keep in the refrigerator for at least 2 to 3 weeks, sometimes even longer, as long as they remain submerged in their pickling brine. The brine itself becomes wonderfully flavorful and can be used in dressings or marinades. To serve, simply use a fork or slotted spoon to lift the pickled onions out of the brine. Drain them slightly if you prefer a less wet topping. These pickled beauties are incredibly versatile. Add them to your favorite sandwiches, burgers, and wraps for a zesty kick. Sprinkle them over salads for a burst of color and flavor. They are a fantastic accompaniment to grilled or roasted meats, fish, and poultry. Don’t shy away from using them in unexpected ways, like in quesadillas or as a topping for scrambled eggs. The possibilities are truly endless, and their bright, tangy taste is sure to impress your taste buds and elevate your culinary creations. Enjoy the delightful tang and vibrant color they bring to your meals!
Conclusion:
There you have it! Crafting your own batch of beautifully vibrant pickled red onions is surprisingly simple and incredibly rewarding. This recipe is fantastic because it transforms humble red onions into a versatile condiment that elevates countless dishes with its sweet, tangy, and slightly spicy kick. The bright pink hue alone is enough to impress, but the depth of flavor is what truly shines. I’ve found these pickled red onions to be a game-changer for everything from tacos and burgers to salads and even just avocado toast. Don’t be afraid to get creative with your serving suggestions – the possibilities are truly endless!
For variations, consider adding a pinch of chili flakes for a spicier profile, a few sprigs of fresh dill or thyme for an herbaceous twist, or even a tablespoon of honey for a touch more sweetness. I wholeheartedly encourage you to give this pickled red onion recipe a try. It’s a simple way to add a gourmet touch to everyday meals and will quickly become a staple in your refrigerator. Enjoy the process and the delicious results!
Frequently Asked Questions:
How long do pickled red onions last?
When stored properly in an airtight container in the refrigerator, these pickled red onions will stay fresh and delicious for at least 2-3 weeks. You’ll notice the color might deepen slightly over time, but the flavor will remain vibrant.
Can I use different types of onions?
While red onions are preferred for their beautiful color and milder flavor when pickled, you can experiment with other onions like white or yellow onions. Keep in mind that the color will be less striking, and the flavor profile might be a bit sharper.
What if I don’t have apple cider vinegar?
If you’re out of apple cider vinegar, white grape juice vinegar or red grape juice vinegar are excellent substitutes. They will provide a similar tangy base. Just ensure they are plain vinegars, without added flavorings.
Quick Pickled Red Onions
A simple and versatile recipe for quick-pickled red onions, perfect for adding a tangy, bright flavor to salads, sandwiches, tacos, and more.
Ingredients
-
1 large Red onion
-
1 cup White Vinegar
-
1 cup Water
-
1 tablespoon Sugar
-
2 teaspoons Kosher salt
-
1/2 teaspoon Black peppercorns
-
1/4 teaspoon Mustard seeds
Instructions
-
Step 1
Thinly slice the red onion. A mandoline slicer is recommended for uniform slices. -
Step 2
In a medium saucepan, combine the white vinegar, water, sugar, and kosher salt. -
Step 3
Heat the mixture over medium heat, stirring until the sugar and salt are completely dissolved. Do not boil. -
Step 4
Place the sliced red onions in a heatproof jar or container. Add the peppercorns and mustard seeds. -
Step 5
Pour the hot brine over the onions, ensuring they are fully submerged. Let it sit at room temperature for about 30 minutes. -
Step 6
Once cooled, cover the container and refrigerate. The onions will be ready to eat in about an hour but will continue to develop flavor over time.
Important Information
Nutrition Facts (Per Serving)
It is important to consider this information as approximate and not to use it as definitive health advice.
Allergy Information
Please check ingredients for potential allergens and consult a health professional if in doubt.