Easy Homemade Fruit Leather Recipe- Delicious & Healthy Snack
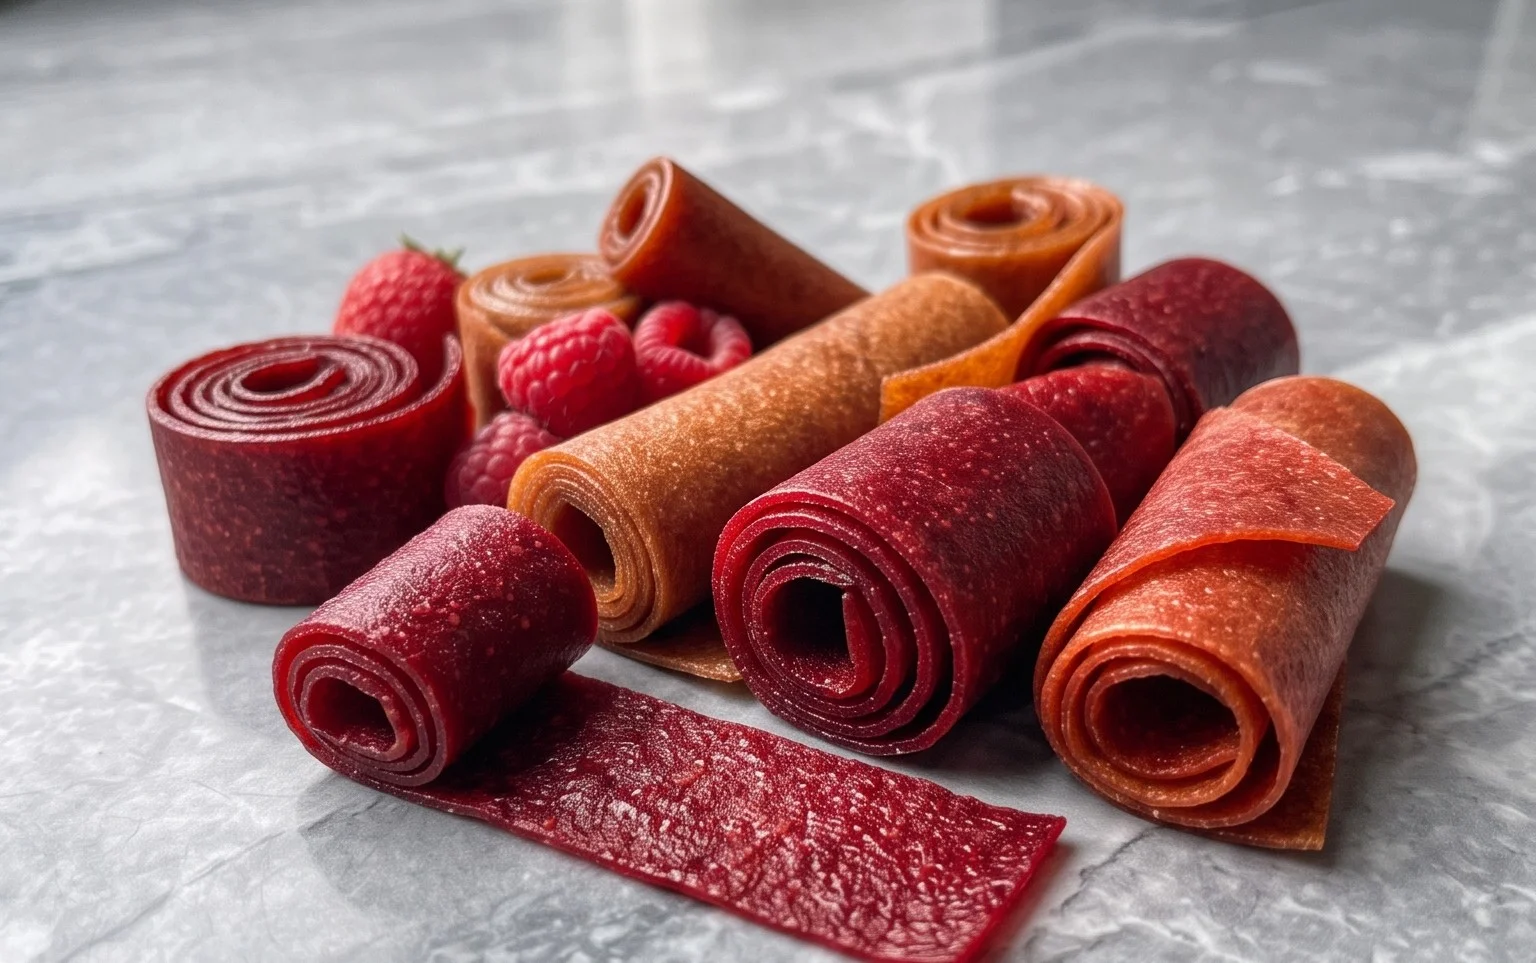
Homemade fruit leather is one of those magical treats that instantly transports me back to childhood. Remember those vibrant, chewy strips of pure fruit goodness? Now, imagin extracte creating that same joy right in your own kitchen, with flavors that burst and a texture that’s perfectly satisfying. What makes this homemade fruit leather recipe so special is its incredible versatility and the fact that it’s a surprisingly simple way to preserve the peak flavors of your favorite fruits. It’s a healthy alternative to store-bought snacks, packed with natural sweetness and no artificial anything. Plus, the process itself is incredibly rewarding, watching simple fruit purees transform into a pliable, delicious snack. Get ready to unleash your inner fruit leather artist!
Homemade Fruit Leather Recipe
There’s something incredibly satisfying about making your own fruit leather. It’s a simple process, and the result is a chewy, intensely flavored treat that’s miles ahead of anything you can buy in a store. Plus, you have complete control over the ingredients, meaning no artificial colors or excessive preservatives. This recipe is incredibly versatile; you can swap out the fruit based on what’s in season or what you have on hand. It’s perfect for a healthy snack, a fun addition to lunchboxes, or even a homemade gift. Let’s get started on creating this delightful fruity delight!
Ingredients:
Cooking Instructions:
Phase 1: Preparing the Fruit Base
The first step to making amazing fruit leather is to prepare your fruit. I recommend using ripe, flavorful fruits for the best taste. Berries like strawberries, raspberries, and blueberries work wonderfully. Peaches, apricots, mangoes, and even apples or pears (cooked until soft) are also fantastic options. For this recipe, we’ll start with 2 cups of your chosen fruit, chopped into manageable pieces. If you’re using larger fruits like peaches or apples, make sure to remove the pits or cores. For berries, a quick rinse will do. The key is to have the fruit ready for the blending stage.
Phase 2: Blending and Sweetening
Once your fruit is prepped, it’s time to create a smooth puree. You can use a blender or a food processor for this. Add the 2 cups of chopped fruit to your appliance. Now, let’s talk about the sweetness and tang. We’re adding 3 tablespoons of white sugar. This amount can be adjusted based on the sweetness of your fruit and your personal preference. If your fruit is very sweet, you might want to start with 2 tablespoons and taste the puree before adding more. The juice of half a lemon is also crucial. It not only adds a bright, zesty flavor that balances the sweetness but also acts as a natural preservative and helps the fruit leather set. Blend everything until you have a completely smooth and consistent puree. There should be no chunks of fruit left. The texture should be similar to applesauce, but a bit thinner.
Phase 3: Cooking and Thickening the Puree
Now, we need to thicken this delicious fruit puree. Transfer the blended mixture to a saucepan. We’re going to cook it over medium-low heat. The goal here is to evaporate some of the liquid content, which will result in a thicker, more concentrated fruit mixture. Stir the puree frequently to prevent it from sticking to the bottom of the pan and scorching. This cooking process can take anywhere from 15 to 30 minutes, depending on the moisture content of your fruit and the heat of your stovetop. You’ll notice the puree will start to thicken and become more glossy. A good indicator that it’s ready is when you can draw a line through the puree with your spoon, and the line holds its shape for a few seconds before slowly mergin extractg back together. This indicates that enough water has evaporated and the mixture has reached a good consistency for drying.
Phase 4: Preparing for Drying
Preheat your oven to its lowest setting, typically around 170°F (75°C). If your oven doesn’t go that low, you can prop the oven door open slightly with a wooden spoon to allow for better air circulation and to prevent it from getting too hot. Line a baking sheet with parchment paper or a silicone baking mat. It’s important to use parchment paper or a silicone mat because fruit leather can be sticky, and this will prevent it from adhering to the baking sheet, making removal much easier. Spread the thickened fruit puree evenly over the prepared baking sheet. Aim for a thickness of about ¼ inch. Try to make the layer as uniform as possible to ensure even drying. If some areas are thicker than others, they will take longer to dry, and you might end up with unevenly textured fruit leather. You can use an offset spatula to get a smooth, even surface.
Phase 5: The Drying Process and Finishing Touches
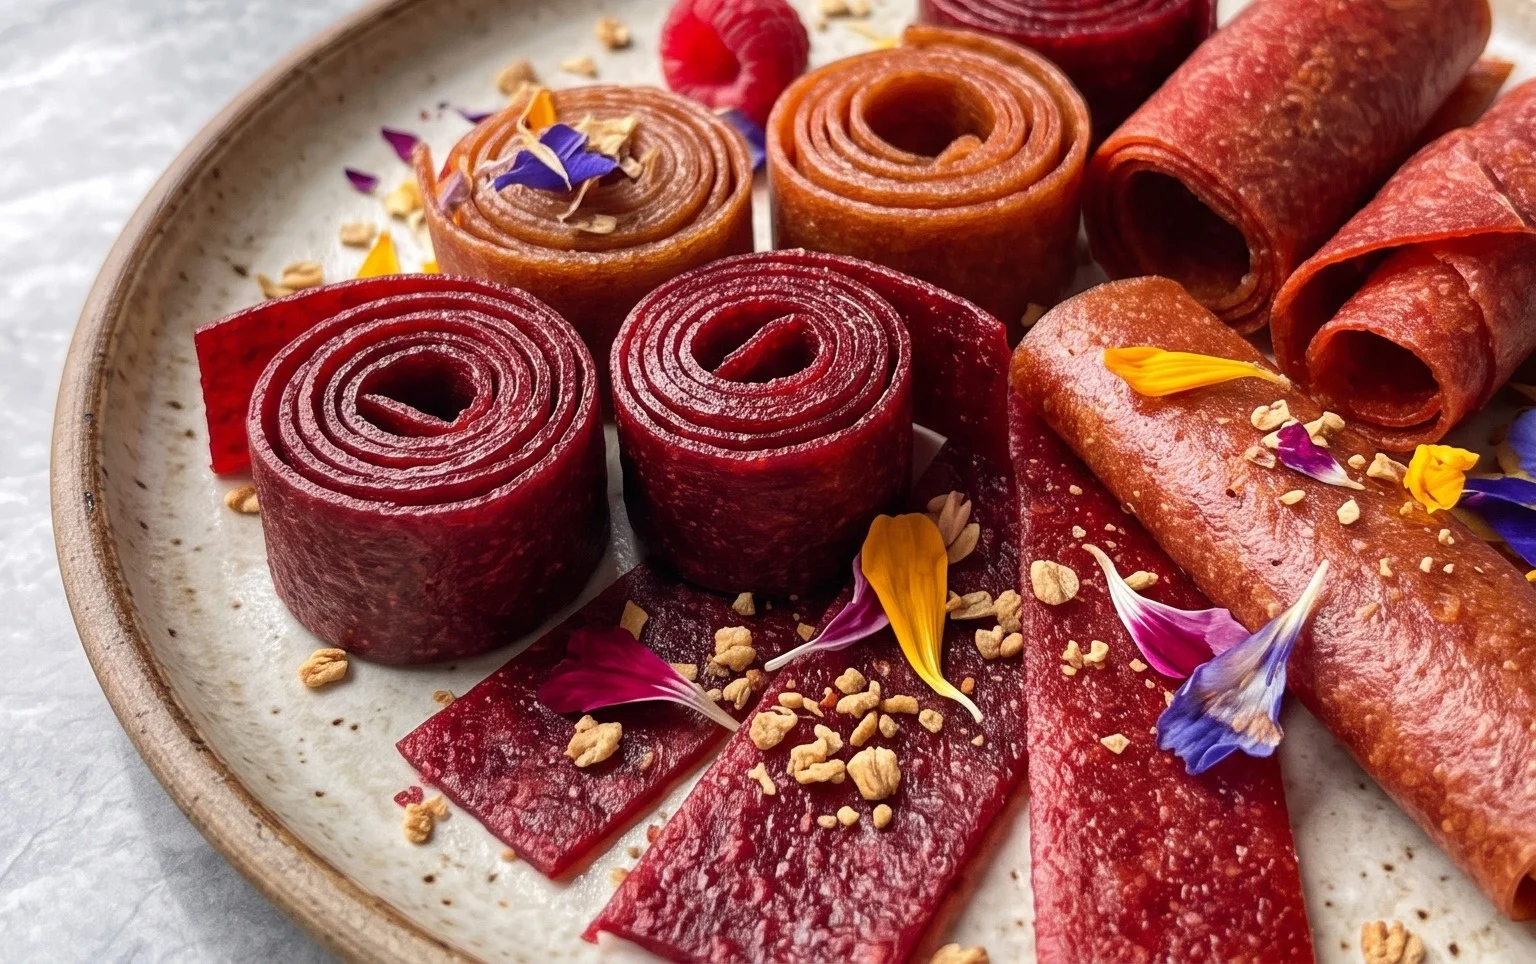
Carefully place the baking sheet with the fruit puree into the preheated oven. Let it dry for approximately 4 to 8 hours. The drying time will vary significantly depending on your oven’s temperature, the thickness of your fruit layer, and the humidity in your kitchen. You’ll want to check on it periodically, perhaps every couple of hours. The fruit leather is done when it’s no longer sticky to the touch and peels easily away from the parchment paper. It should be pliable but not wet. Once it’s completely dried, remove the baking sheet from the oven and let the fruit leather cool completely on the baking sheet. This cooling process is important as it will firm up the leather even more. Once cooled, you can cut it into strips or shapes using a pizza cutter or a sharp knife. Roll up the strips in parchment paper, and store them in an airtight container at room temperature for up to a week, or in the refrigerator for longer storage. Enjoy your delicious homemade fruit leather!
Conclusion:
Making your own fruit leather is such a rewarding and delicious endeavor! This Homemade Fruit Leather Recipe is fantastic because it allows you to control exactly what goes into your snacks – no artificial colors, flavors, or preservatives here. It’s a simple process that transforms fresh fruit into a chewy, intensely flavored treat that everyone will love. Plus, it’s a wonderful way to use up seasonal produce or any fruit that’s starting to go a little soft.
We love serving fruit leather as a healthy after-school snack, a portable treat for hikes or picnics, or even cut into fun shapes for parties. The possibilities are truly endless! Don’t be afraid to get creative with your fruit combinations. Try mixing berries with apples, or perhaps adding a touch of cinnamon or gin extractger for extra zing. The beauty of this recipe is its adaptability, making it perfect for any palate.
So, gather your favorite fruits, preheat your oven, and give this Homemade Fruit Leather Recipe a try. You’ll be so pleased with the vibrant flavors and the satisfaction of making something so wholesome from scratch. It’s a simple joy that brings big smiles!
Frequently Asked Questions:
How long does homemade fruit leather last?
Properly stored, your homemade fruit leather can last for 1 to 2 weeks at room temperature in an airtight container. For longer storage, you can keep it in the refrigerator for up to a month, or even freeze it for several months. Make sure it’s completely cooled before storing to prevent condensation.
Can I make fruit leather without adding sugar?
Absolutely! The sweetness of the fruit leather comes directly from the fruits you use. Riper fruits will naturally be sweeter, reducing or eliminating the need for added sweeteners. If you do find your fruit combination a little tart, a tiny drizzle of honey or maple syrup can be added, but it’s often unnecessary.
My fruit leather is sticky, what did I do wrong?
A common reason for sticky fruit leather is not drying it sufficiently. Ensure your oven temperature is low and consistent, and that you’re allowing enough time for the moisture to evaporate completely. It should feel dry to the touch and peel cleanly from the parchment paper. Sometimes, a slightly thicker fruit puree can also contribute to stickiness.
Homemade Fruit Leather
A simple and delicious recipe for homemade fruit leather using fresh fruit and a touch of sweetness.
Ingredients
-
2 cups fruit, chopped
-
3 tbsp white sugar
-
½ whole lemon, just the juice
-
1 tsp vanilla extract
-
Pinch of salt
Instructions
-
Step 1
Puree the chopped fruit until smooth. -
Step 2
Stir in the white sugar, lemon juice, vanilla extract, and salt until well combined. -
Step 3
Preheat oven to 170°F (77°C). -
Step 4
Line a baking sheet with parchment paper or a silicone baking mat. -
Step 5
Pour the fruit mixture onto the prepared baking sheet and spread it thinly and evenly. -
Step 6
Bake for 4-6 hours, or until the fruit leather is no longer sticky to the touch and peels easily from the parchment paper. -
Step 7
Let cool completely, then cut into strips.
Important Information
Nutrition Facts (Per Serving)
It is important to consider this information as approximate and not to use it as definitive health advice.
Allergy Information
Please check ingredients for potential allergens and consult a health professional if in doubt.