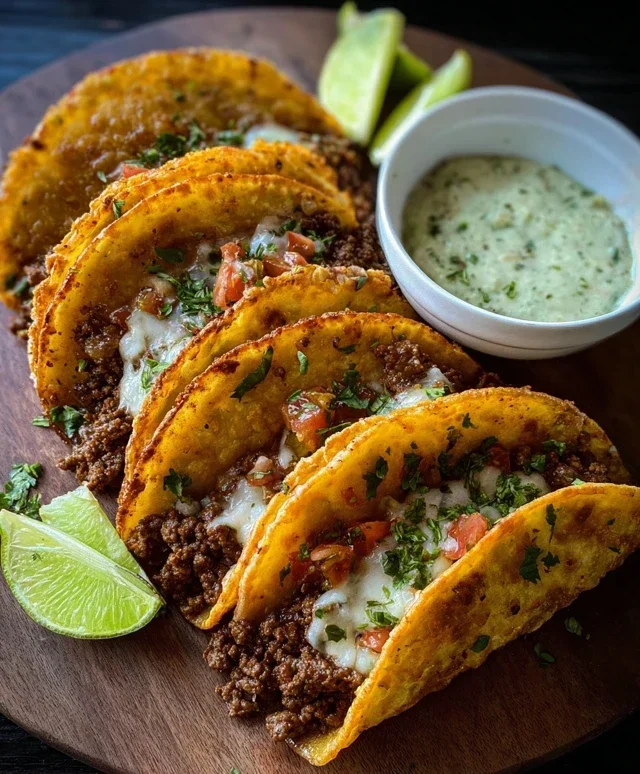
Perfect Grilled Pizza Recipe- Easy Steps
How to Make the Perfect Grilled Pizza. Forget soggy bottoms and unevenly cooked crusts – we’re talking about achieving that glorious char, smoky depth, and delightful crispness that only comes from the fiery kiss of the grill. There’s something undeniably magical about grilled pizza, isn’t there? It’s the ultimate outdoor indulgence, a dish that transforms a simple meal into a memorable gathering. The secret lies in harnessing the grill’s intense heat to cook the dough rapidly, creating those irresistible leopard spots and a chewy, airy interior. People adore it because it’s a crowd-pleaser, infinitely customizable, and surprisingly simple to master once you know a few key techniques. It’s more than just pizza; it’s an experience, a smoky, cheesy, utterly satisfying adventure for your taste buds.
How to Make the Perfect Grilled Pizza
There’s something magical about pizza. It’s a universally loved dish, perfect for gatherings, a quick weeknight meal, or even a celebratory feast. While oven-baked pizza is delicious, I’ve discovered a game-changer: grilled pizza. The high heat of the grill imparts an incredible smoky flavor and a perfectly crisp crust that’s hard to replicate indoors. It’s surprisingly simple, and once you try it, you might never go back. Forget complicated dough recipes or struggling with a soggy bottom; grilled pizza is all about speed, flavor, and pure, unadulterated deliciousness.
Ingredients:
Crafting Your Masterpiece: Step-by-Step Grilled Pizza Perfection
The beauty of grilled pizza lies in its simplicity and speed. Here’s how to achieve that perfect smoky char and wonderfully chewy crust.
Phase 1: Preparing Your Grill and Dough
1. Preheat your grill to medium-high heat. This is a crucial step. You want the grill grates to be screaming hot to create that immediate sear on the dough. Aim for a temperature around 450-500°F (230-260°C). While the grill is preheating, clean your grates thoroughly. This prevents sticking and ensures a clean release of your pizza. If you have a grill brush, now is the time to use it. If you don’t, you can use a crum extractpled piece of aluminum foil held with tongs. Ensure all debris is removed.
2. Prepare your pizza dough. Take your pizza dough out of the refrigerator about 30 minutes before you plan to grill. This allows it to come to room temperature, making it much easier to stretch. Lightly dust a clean work surface with cornmeal or flour. This will prevent the dough from sticking and add a nice texture to the crust. Gently stretch the dough into your desired pizza shape, about a 12-14 inch circle or rectangle. Don’t overwork the dough; if it springs back, let it rest for a few minutes and try again. You can use your hands to stretch it or a rolling pin if you prefer a thinner crust. Aim for an even thickness to ensure it cooks uniformly.
Phase 2: Grilling the Crust and Assembling
3. Grill the first side of the dough. Lightly brush one side of your stretched pizza dough with olive oil. Carefully place the dough, oiled-side down, onto the preheated grill grates. Grill for 2-4 minutes, or until you see golden brown grill marks and the dough has puffed up slightly. This is the “par-baking” stage. Keep a close eye on it, as it can go from perfectly cooked to burnt very quickly on high heat. You want a nice char, not a blackened crisp. Resist the urge to move it around too much; let the grill do its work.
4. Flip and add toppings. Using a sturdy spatula or pizza peel, carefully flip the dough over. The side that was just grilled should now be facing up. This is where the magic happens! Quickly spread your pizza sauce evenly over the grilled side, leaving a small border for the crust. Sprinkle generously with mozzarella cheese and then Parmesan cheese. Add your favorite toppings. Don’t overload your pizza, as this can make the crust soggy and difficult to handle. Less is often more when grilling pizza. Aim for a single layer of toppings.
Phase 3: Finishing and Serving
5. Grill the pizza until cheese is melted and bubbly. Close the grill lid and cook for another 4-6 minutes, or until the cheese is fully melted and bubbly, and the crust is golden brown and cooked through on the bottom. The indirect heat from the closed lid will help melt the cheese and cook the toppings without burning the bottom crust. You might need to adjust the heat on your grill if it’s cooking too quickly. If you notice the bottom browning too fast, you can move the pizza to a cooler part of the grill.
6. Rest and serve. Once the pizza is cooked to perfection, carefully remove it from the grill using your spatula or pizza peel. Transfer it to a cutting board. Let it rest for a minute or two before slicing. This allows the cheese to set slightly, making it easier to cut and preventing all the toppings from sliding off. Garnish with fresh basil leaves if desired. Slice and enjoy your incredible, smoky, perfectly grilled pizza! This method is fantastic for creating unique flavor combinations and is always a crowd-pleaser. The slightly charred crust and smoky essence are truly unforgettable.
Conclusion:
So there you have it – your ultimate guide to crafting the perfect grilled pizza! The beauty of this recipe lies in its simplicity and the incredible flavor payoff. The high heat of the grill creates a wonderfully crisp crust with a delightful smoky char, far superior to any oven-baked pie. It’s a fantastic way to elevate your pizza night and impress your friends and family with minimal fuss. Whether you’re a seasoned grill master or just starting out, this method is incredibly forgiving and rewarding.
For serving, consider a fresh arugula salad with a lemon vinaigrette to balance the richness, or a simple side of grilled vegetables. Don’t be afraid to get creative with your toppings! Think beyond the usual marinara and mozzarella. Try a white pizza with ricotta and spinach, a spicy sausage and pepper combination, or even a sweet fig and beef prosciutto topping. The possibilities are truly endless. I highly encourage you to gather your ingredients, fire up the grill, and experience the magic of grilled pizza for yourself. It’s an outdoor cooking adventure you won’t regret!
Frequently Asked Questions:
Can I make the dough ahead of time?
Absolutely! Pizza dough can be made 1-2 days in advance and stored in the refrigerator. Just be sure to bring it to room temperature for about 30-60 minutes before you plan to grill it for easier handling.
What’s the best way to transfer the pizza to and from the grill?
Using a pizza peel dusted with cornmeal or semolina flour is the easiest method. For transferring off the grill, a sturdy spatula or two can also work, but a peel makes it much smoother and prevents toppings from shifting.
The Perfect Grilled Pizza
Master the art of smoky, crispy grilled pizza with this easy-to-follow recipe.
Ingredients
-
1 pound pizza dough, at room temperature
-
1/2 cup pizza sauce
-
8 ounces fresh mozzarella, thinly sliced
-
1/4 cup grated Parmesan cheese
-
2 tablespoons olive oil
-
1 teaspoon dried oregano
-
Pinch of red pepper flakes
-
Fresh basil leaves, for garnish (optional)
Instructions
-
Step 1
Preheat your grill to medium-high heat. If using a charcoal grill, arrange coals for indirect heat. If using a gas grill, turn one burner to low and the other to medium-high. -
Step 2
Lightly flour a clean surface and gently stretch or roll out the pizza dough to your desired shape and thickness. Aim for about 1/4 inch thick. -
Step 3
Brush one side of the dough generously with olive oil. This will prevent sticking and help create grill marks. -
Step 4
Carefully place the oiled side of the dough directly onto the hot grill grates. Close the lid and grill for 2-4 minutes, or until golden brown and puffed in spots. -
Step 5
Using tongs, carefully flip the dough. Working quickly, spread the pizza sauce evenly over the grilled side, leaving a small border for the crust. Top with mozzarella, Parmesan, oregano, and red pepper flakes. -
Step 6
Close the grill lid and cook for another 4-6 minutes, or until the cheese is melted and bubbly and the crust is cooked through. -
Step 7
Remove the pizza from the grill and let it rest for a minute before slicing. Garnish with fresh basil if desired.
Important Information
Nutrition Facts (Per Serving)
It is important to consider this information as approximate and not to use it as definitive health advice.
Allergy Information
Please check ingredients for potential allergens and consult a health professional if in doubt.